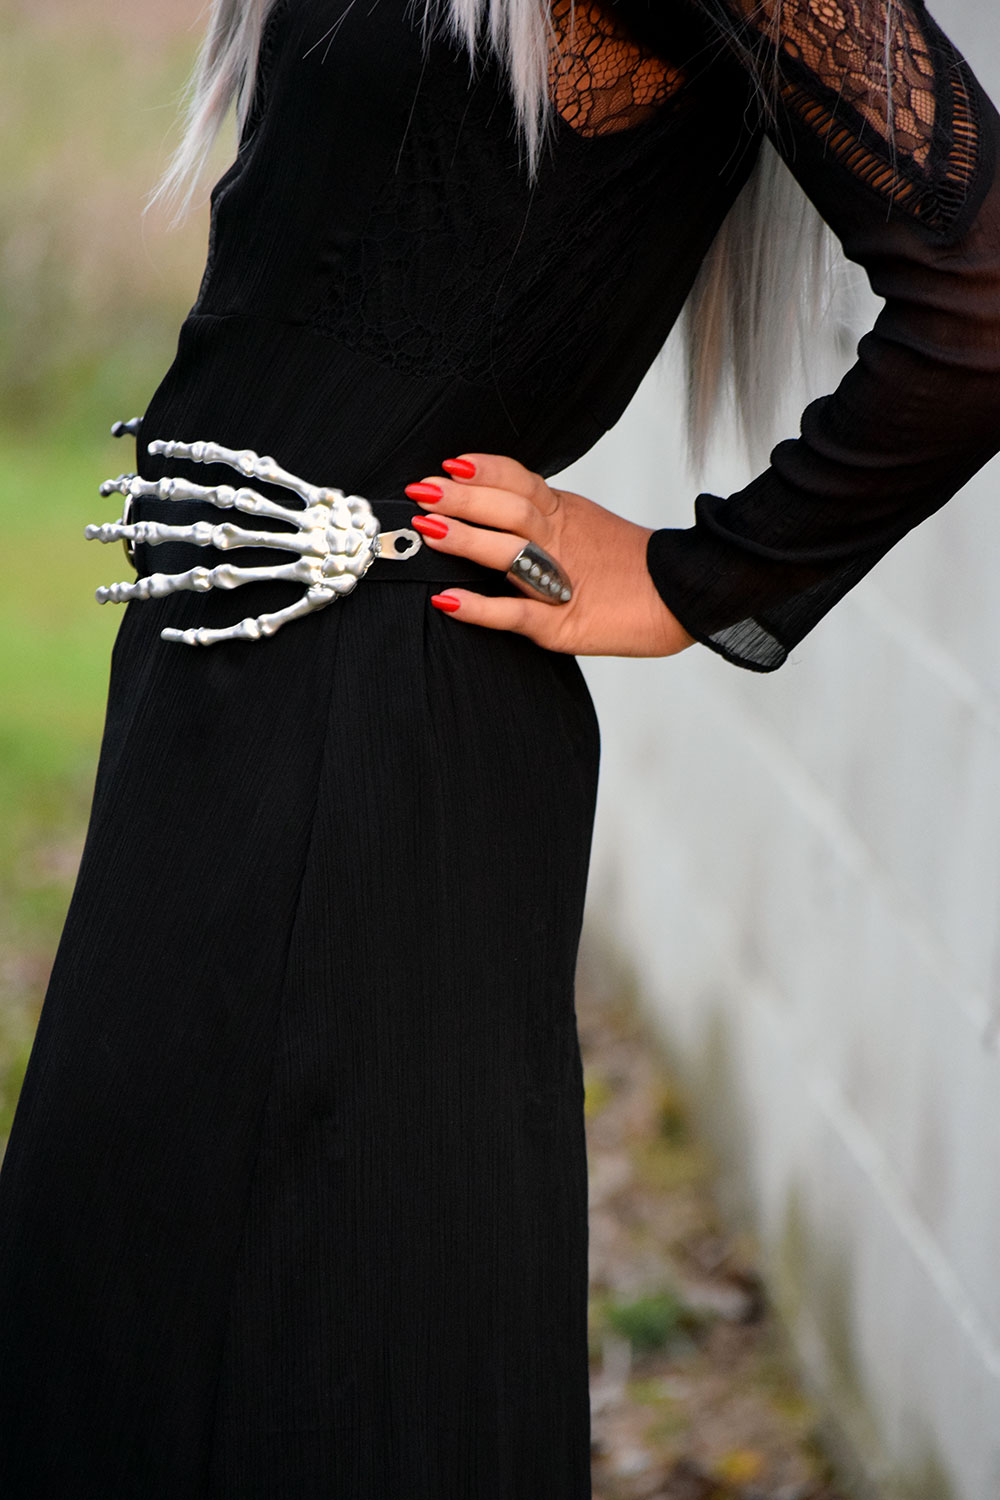
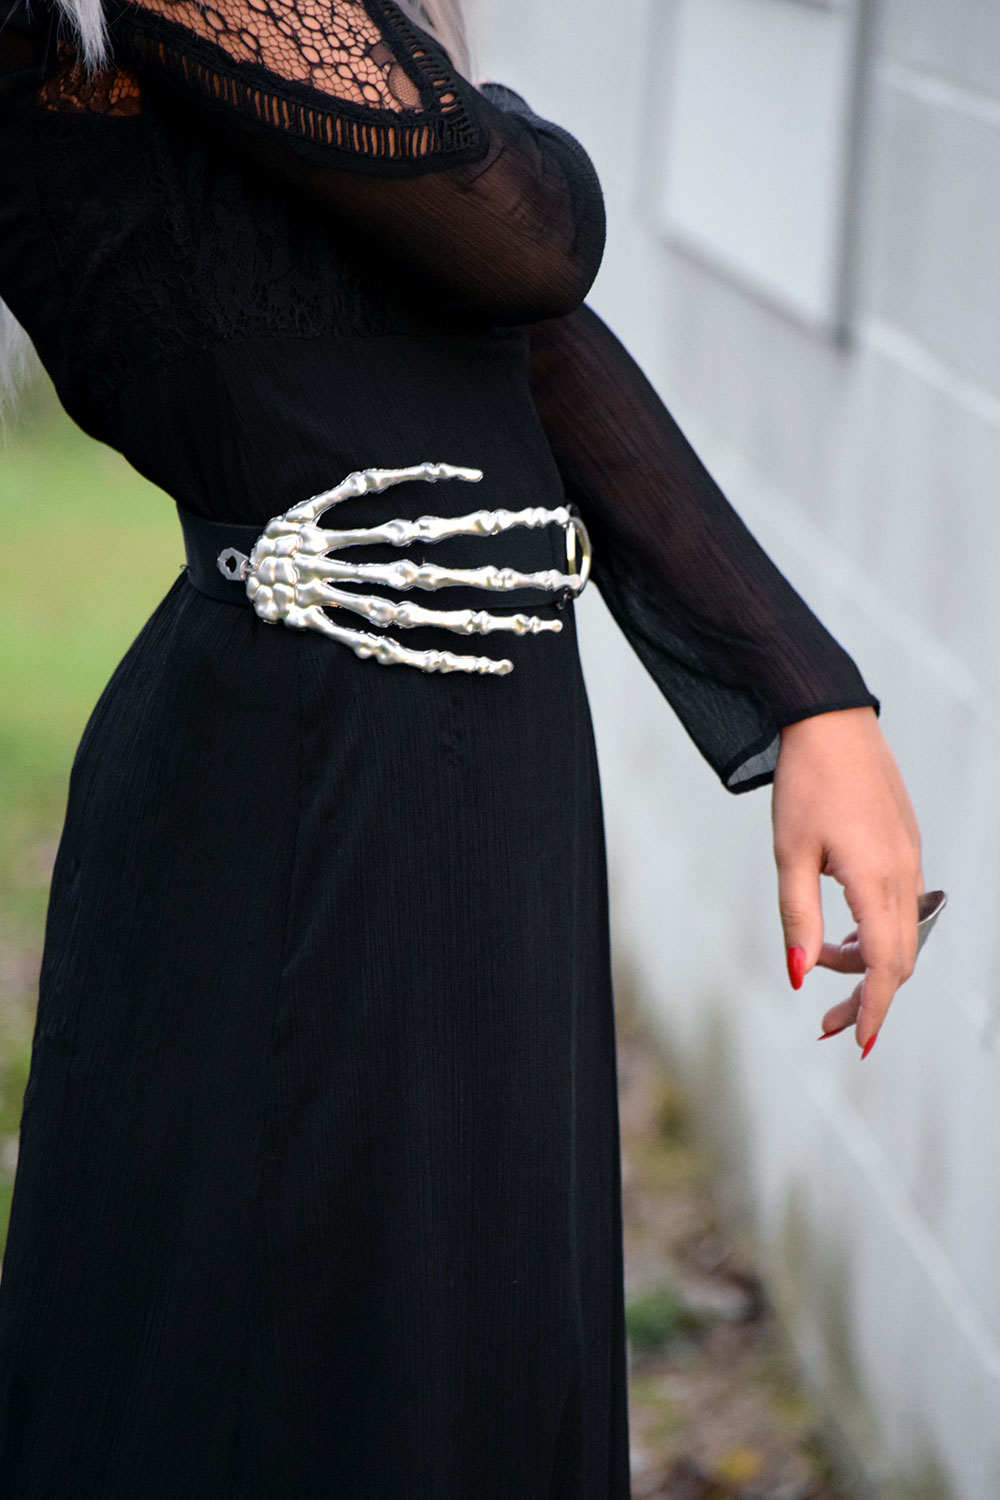
Hey, Always Uttori Readers! Ready for a spooky DIY? I’ve seen this skeleton hand belt on several Pinterest boards. It was created by designer Delfina Delettrez and, while it is no longer in production, it retailed for a whopping $3,853. Chump change, right? Anyway, this creepy cute belt is perfect for Halloween (or Subtleween), and I figured I could make a version of my own, so I created this Skeleton Belt DIY. If you’re into creepy cute, or just a lover of Halloween, try this DIY yourself.
None of the links in this article are affiliated or sponsored.
Skeleton Belt DIY
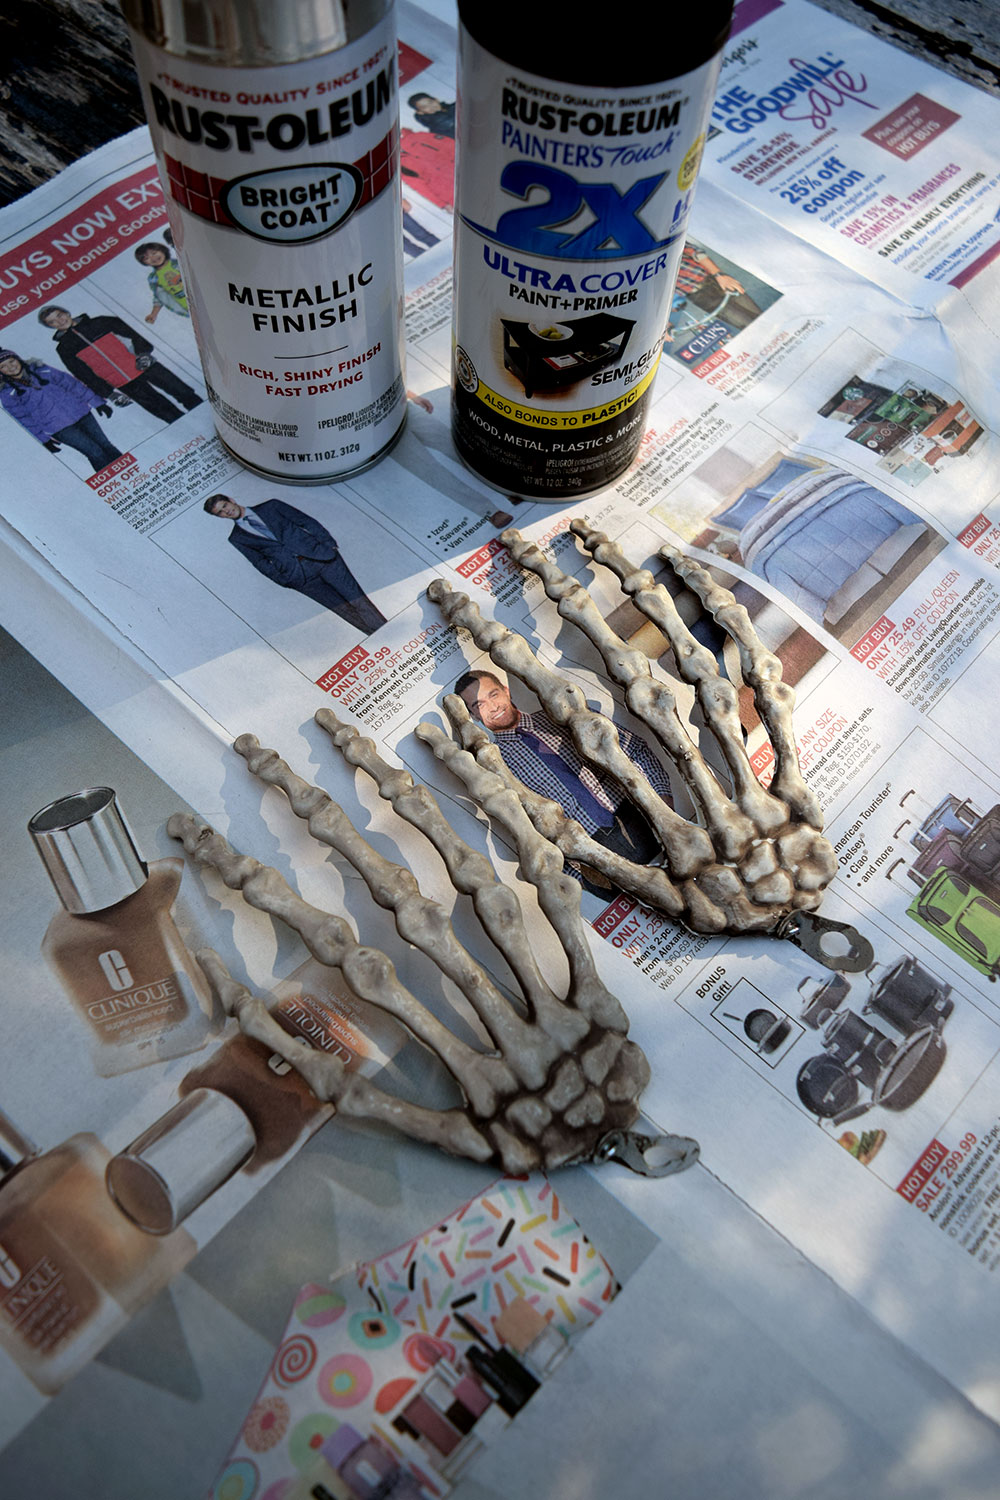
- Gather Your Materials.
- Paint with black first.
- Let dry.
- Paint with silver.
- Beautiful.
- Allow to dry.
- Decide where you want to place the hands.
- I used invisible thread.
- X marks the spot.
- Attach the base.
- Make sure to use several layers of thread.
- Looking good.
What You’ll Need
- An elastic belt (I got mine a few years back, but you can buy them for $10 on Amazon)
- Skeleton Hands (I bought mine from Michaels for about $5 dollar each. I couldn’t find the exact set that I purchased to link to, but they have many different sizes. I also considered getting this full size skeleton that has two hands. The plus is that you would get a right and left hand, whereas I ended up with two right hands)
- Black spray paint that adheres to plastic
- Silver metallic spray paint
- Newspaper
- Invisible thread
- Needle
- Scissors
- Ruler
Directions
- My skeleton hands had netting on them, so I had to remove that to start.
- In a well-ventilated area (outside) lay down some newspaper. Spray paint one side of both hands black. Once dry, repeat on other side. I used black first so that the silver would pop more.
- Once the black paint has dried, spray paint each side silver. Let dry.
- The inspiration for this belt has moveable hands. Since my skeleton hands aren’t belt buckles I had to pick a stationary point to attach them to the belt. I chose to put mine on the side, but you could also chose to have yours closer to the front to give the impression that they are clasping. Put the hands wherever you want! I found that the easiest way to choose where to attach the hands was to put the belt on, move the hands to the position you like best, then measure where that is on the belt.
- Thread your needle. Measure out about 10-12 inches of thread. Make a double-knot at the end of the thread, and cut off the excess. At the location that you will place the base of the skeleton hand, push the needle up through the elastic so that the double knot is on the wrong side of the belt. Push the needle back through the elastic and then up again, forming a cross. Place the base of your skeleton hand over the X and push the needle though the hardware or joint area of the hand, wrapping the thread around one edge. Repeat this until a few layers of thread are going around the base of the skeleton hand. I used the sewing a button method. Once you have finished attaching the hand, push the needle to the wrong side of the belt. Make a double knot to secure the thread.
- Repeat the same process, but this time wrap the thread around the middle finger of the skeleton hand.
- Repeat the process with the other hand.
Voila! You’re done. Enjoy your creepy cute skeleton hand belt!


