

Winter Wonder Log Food Makeover
Makes about 8 servings
In my family, food = love. And, as the holidays are about love and giving, it’s often the time when our familial love is on full display. While banana pudding is a classic on our holiday table, everyone has different their favorite dessert. Mine has always been Winter Wonder Log. While everyone was going for the banana pudding, I couldn’t wait to dig into my grandma’s Winter Wonder Log. Just the name inspires a young child’s imagination. My grandmother’s recipe is rooted in the time-saving, strategies that define cooking in the age of convenience – pre-packaged mixes, faux whipped cream, all held together with sugar. As a recipe, it’s pretty simple. Pistachio pudding (Jell-O brand) mixed with cool whip, and pressed between layers of chocolate wafers. This is arranged in a loaf pan to form a log shape. After chilling, it’s covered with cool whip, and as a final touch, crushed, chocolate wafers are sprinkled on top. When I was a child, I was fascinated by this dessert. To me, it looked mysterious when the dessert was cut open to reveal a minty green interior, layered with chocolate wafers.
Perhaps it’s because I’m an INTJ, or maybe it’s just a kid thing, but I always loved it when someone asked about the weird green stuff that I was eating. Adding to my enjoyment of the holiday treat was the fact that my grandmother and I were really the only ones who liked it, so I basically got the whole thing to myself every year. Unfortunately, while tasty, winter wonder log isn’t exactly a healthy treat. As I got older, and moved to a healthier, cleaner style of eating, I asked my grandmother to stop making the dish, despite loving the ooey-gooey dessert. However, every year at Christmastime, I always miss the taste of that wondrous dessert. Much like my nostalgic longing for the Caramel Apple Ice Cream, I wanted to try to recreate the winter wonder log in a healthier, or at least more wholesome way. You can find the original recipe here, but mine is so tasty, it finally got the seal of approval from the rest of my family. The most difficult aspect of this Winter Wonder Log makeover was creating the gluten-free chocolate wafers. Moreover, although it’s worth it, this recipe is not quick. So, if you prefer less time-consuming dishes, nothing can beat the original recipe. If you prefer eating clean, AND gluten-free, this recipe works, though it’s not dairy-free. Anyway, it’s another Always Uttori Food Makeover. Try it. In my, admittedly biased, opinion, nothing beats fresh, homemade pistachio pudding. Sorry J-E-L-L-O. Hope you enjoy it!


Pistachio Pudding (modified from the Joys of Baking)
Pistachio Paste
½ c pistachio nuts
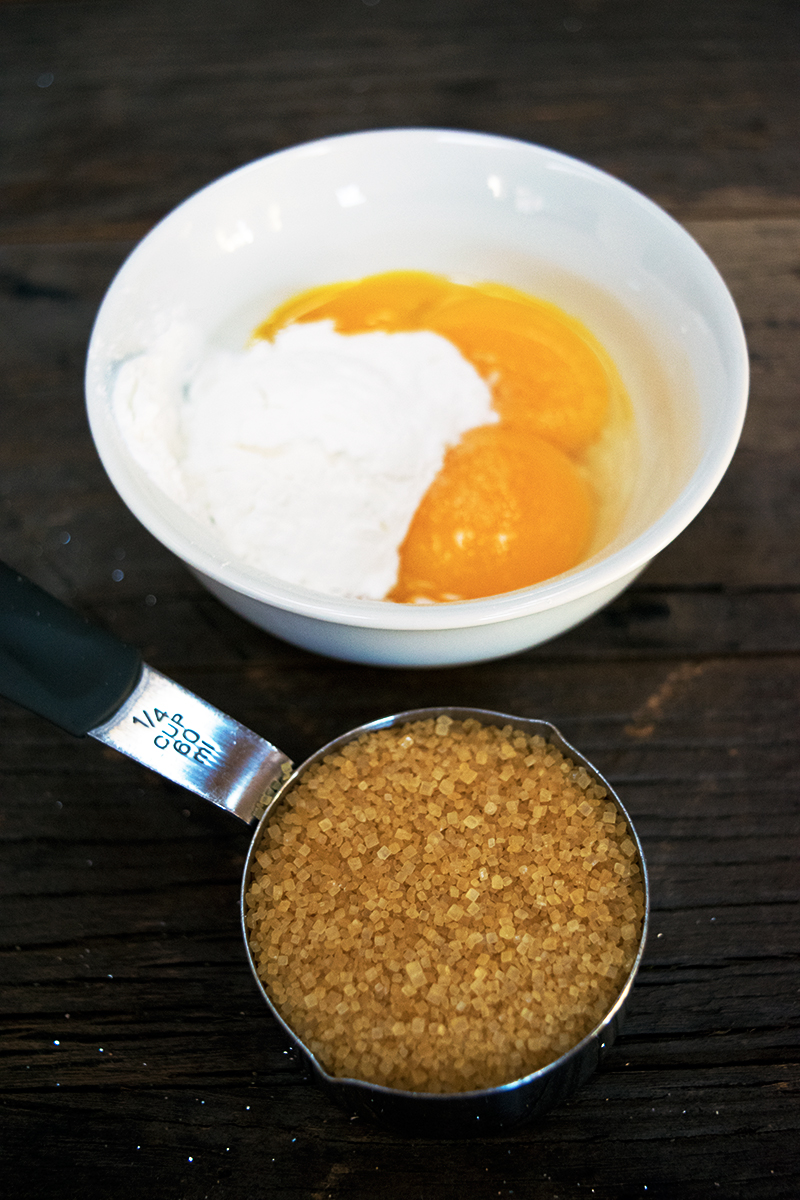
¼ c sugar
2 tbsp water
Pudding
2 cups whole milk
2 egg yolks
¼ sugar
2 tbsp cornstarch
Pinch of salt
2 tbsp unsalted butter
½ tsp almond extract
½ tsp vanilla extract
Green food coloring (optional)
To make paste
In a food processor, pulse the pistachios until they are chopped into small pieces. Add the sugar and water and blend until the paste is mostly smooth.
Pudding
In a medium saucepan, whisk the pistachio paste and milk together over medium heat.
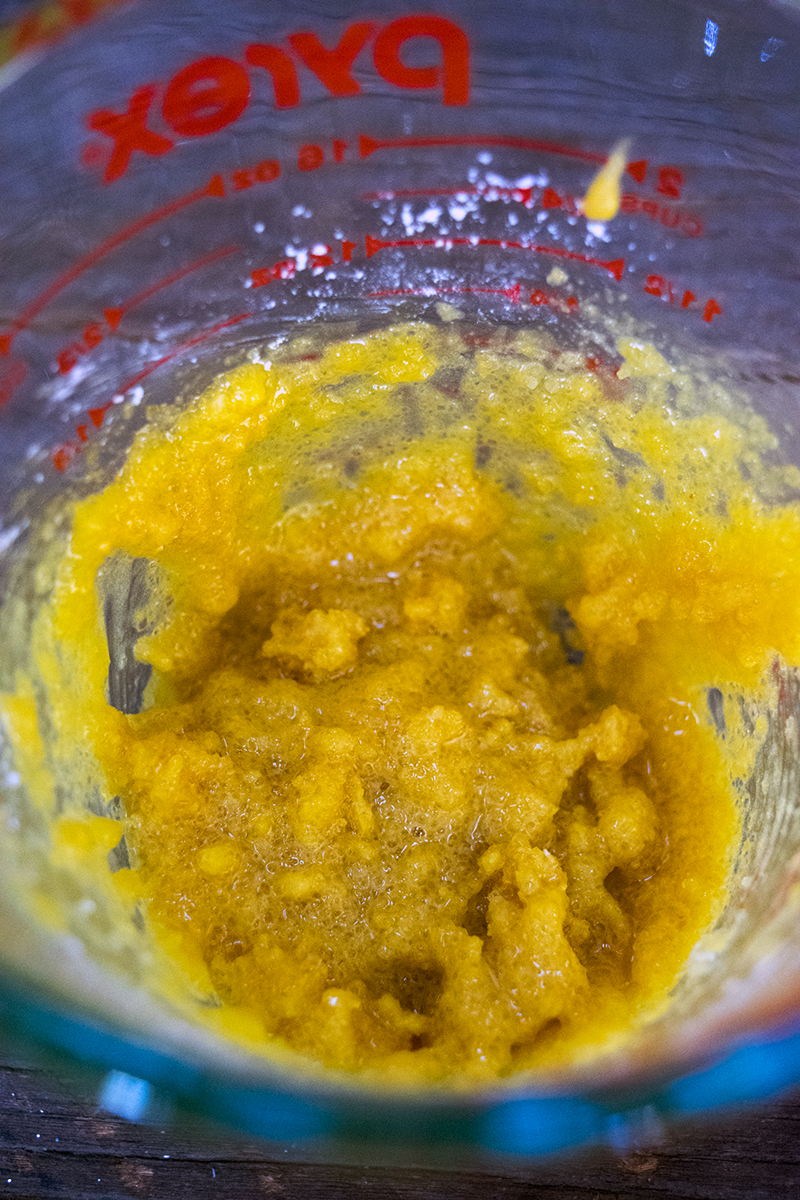
While the milk is heating, whisk the eggs, sugar, cornstarch and salt until smooth in a medium bowl. The mixture will be thick.
Once the milk is hot and steaming, add about ½ c of the milk to the egg mixture. Whisk to combine, then add another ½ cup of milk to the eggs. Whisk again, then pour the egg/milk mixture into the saucepan with the rest of the milk.
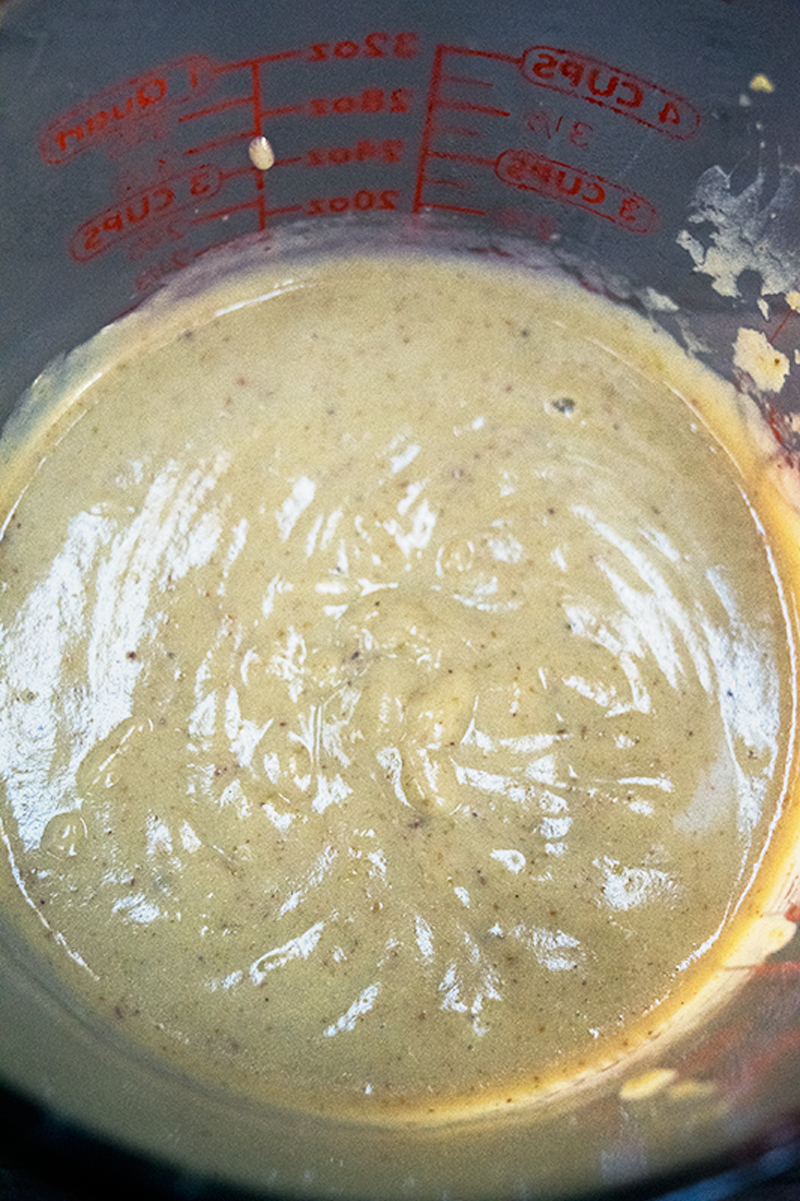
Whisking constantly, heat pudding over medium heat until it becomes thick, about 1-2 minutes. Use a heat proof spatula to scrape down the sides and make sure the sides don’t burn. Once the pudding has thickened, remove the pan from the heat and stir in butter, vanilla extract and almond extract. If you wish to add some green food coloring to enhance the green color of the pudding you can add a few drops at a time, until the pudding reaches your desired color.
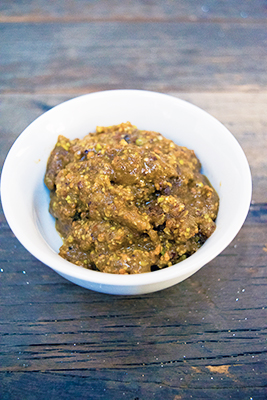
Spoon the pudding through a fine mesh sieve, and strain into a medium bowl. This keeps any cooked egg out of the pudding and gets rid of the thick pistachio paste. One the pudding has been pushed through the sieve, scoop the left over nuts into a small bowl. Save this for later to use as a garnish.
Cover the pudding with cling wrap, ensuring that the cling wrap touches the surface of the pudding (this keeps condensation from forming and dropping back into the pudding.) Refrigerate the pudding and left over nut mixture while you make the cookies. If making the pudding ahead of time, you can store in the fridge for 3-4 days.
Gluten Free Chocolate Wafer Cookie
1 c Gluten Free Flour (I used a flour blend from America’s Test Kitchen recipe as follows…)
Makes about 9 1/3 cups
4 ½ c plus 1/3 c white rice flour
1 2/3 c brown rice flour
1 1/3 c potato starch
¾ c tapioca starch
3 tbsp nonfat milk powder
Whisk flour to combine and store in airtight container.
1/3 c almond meal
¼ c coco powder
½ tsp espresso powder (optional)
½ tsp baking powder
¼ tsp salt
¼ c sugar
1 egg
1 tsp milk
½ c butter
½ tsp vanilla extract
Butter spray
Cling wrap
Directions
Preheat oven to 350 degrees. Line a baking sheet with parchment paper, or spray with butter spray.
In a bowl, whisk together the gluten-free flour, almond meal, coco powder, espresso powder (if using), baking powder, and salt.
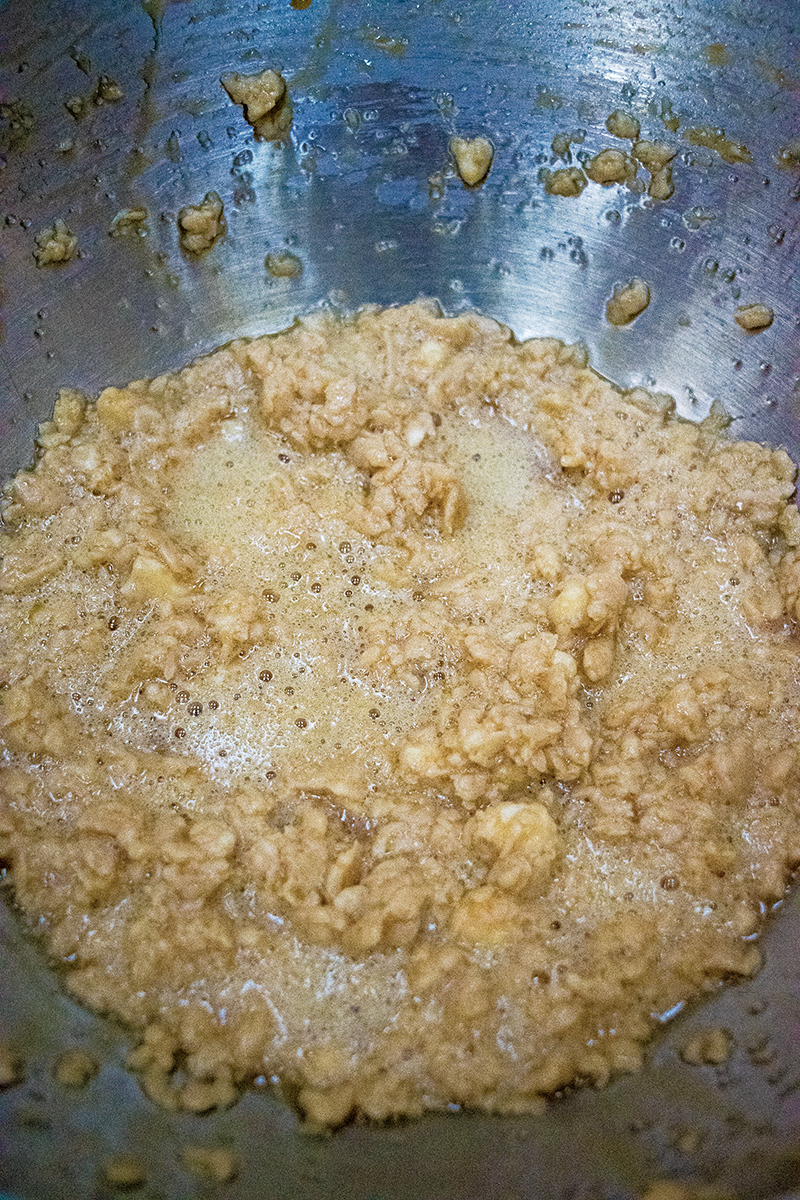
In a stand mixer, cream the butter and sugar. Once combined, add egg, milk, and vanilla. Beat to combine.
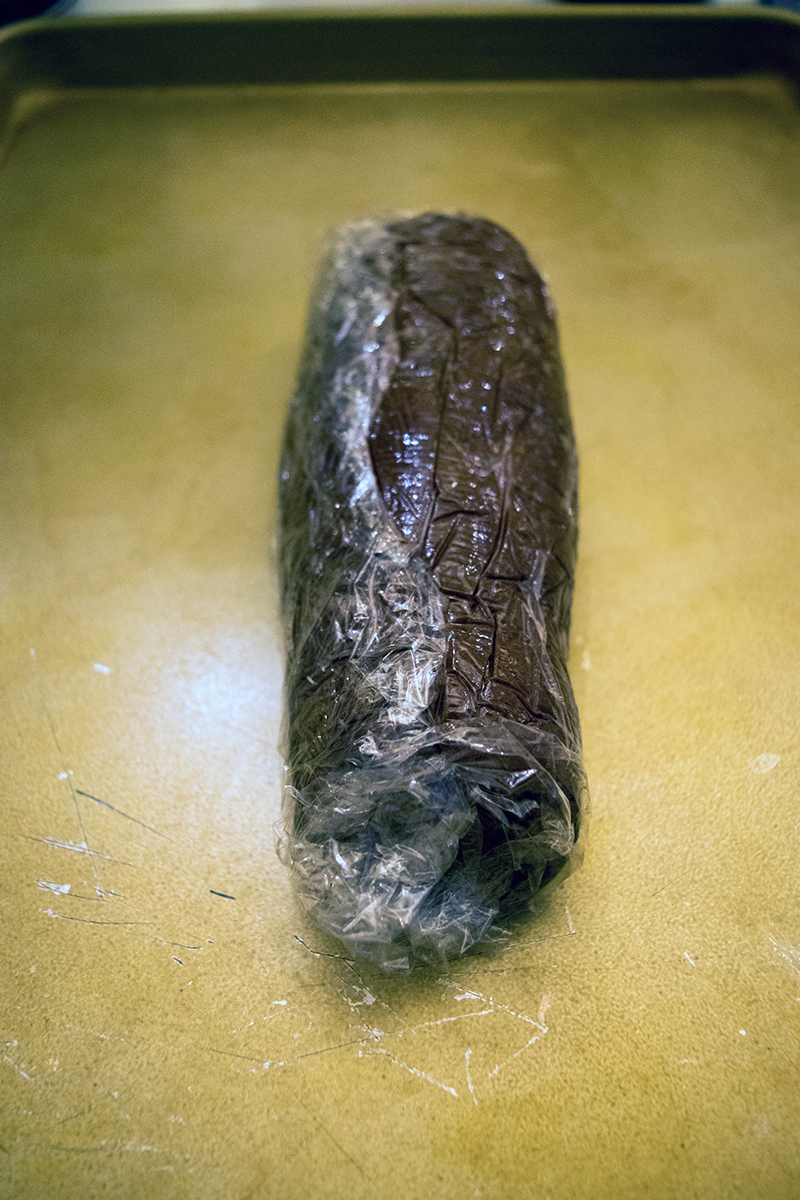
Add the dry ingredients and mix until combined. Roll out a length of cling wrap and dump the batter into the center. Pull one end of the cling wrap and cover the dough, rolling and shaping the dough into a log while covering. Once the log shape has been achieved, place in the refrigerator and chill for 15-20 minutes. (This is important for handling and shaping the dough later).
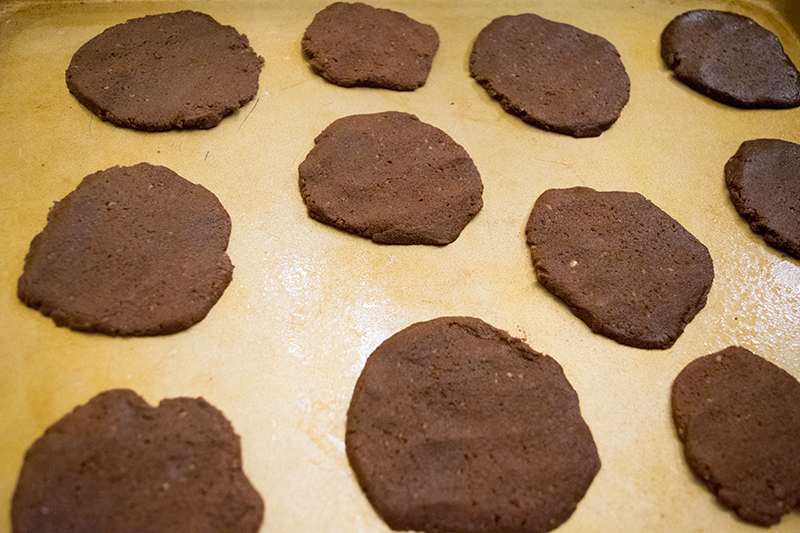
When the dough has been chilled, remove from the fridge and, using a butter knife, slice the dough into ¼ inch slices. You may find that the dough still distorts when cutting, this is fine. Once dough has been cut, place on the baking sheet and press into a more circular shape, also making sure to thin the dough out so that it is not too thick. The goal is to get it to be wafer like, but sturdy enough to hold shape. You don’t need much space between the cookies as they don’t spread. Place in the oven and bake for 15-20 minutes.
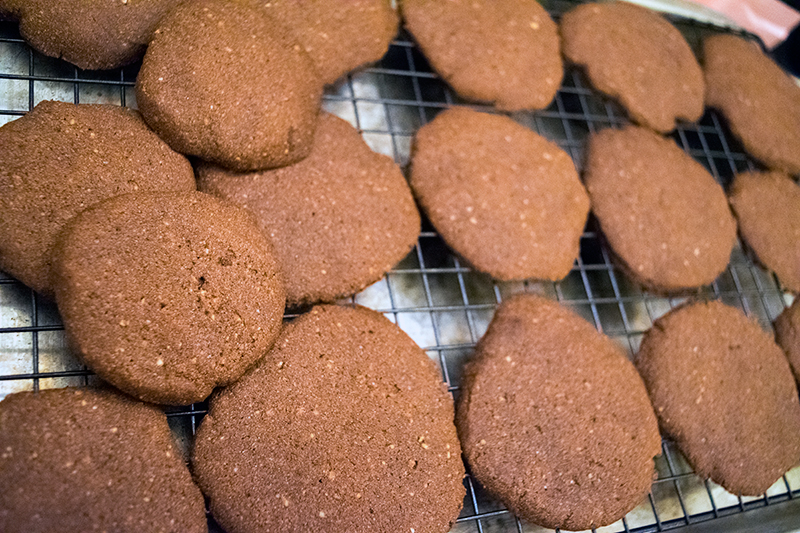
When baked, remove from the oven and transfer to cooling rack. Let cool before assembling the trifle. If making ahead of time store in airtight container for up to two days.
(*Espresso helps to boost chocolate flavor. As a note, the espresso powder I used is gluten-free, but was produced in a place where products containing gluten were made. This is fine for gluten sensitivity, but if you have celiac disease, avoid espresso powder or find some that is completely gluten-free. If you want to boost the chocolate flavor, add a small amount, maybe 1 tsp of fresh brewed espresso).
Whip Cream
½ c heavy whipping cream
2 TBSP powdered sugar
½ tsp vanilla
In a stand mixture whip cream, sugar, and vanilla until stiff peaks form.
Assembly
To Make Into A Log
The traditional winter wonder log is, of course, shaped into a log. If you wish to assemble in this manner, you may wish to double the pudding and whip cream recipe. To form a log shape, place a large piece of cling wrap in the bottom of a loaf pan. Next, alternate layers of pudding and cookies. Do this until all of the pudding has been used. Chill the mixture in the refrigerator for about 4 hours. When the pudding has firmed, gently lift from loaf pan using the sides of the cling wrap. Carefully place on a serving platter. Cover the log with whipped cream. Garnish with the nut mixture, or spread along the base of the log as a decorative and edible covering.
To Make A Trifle
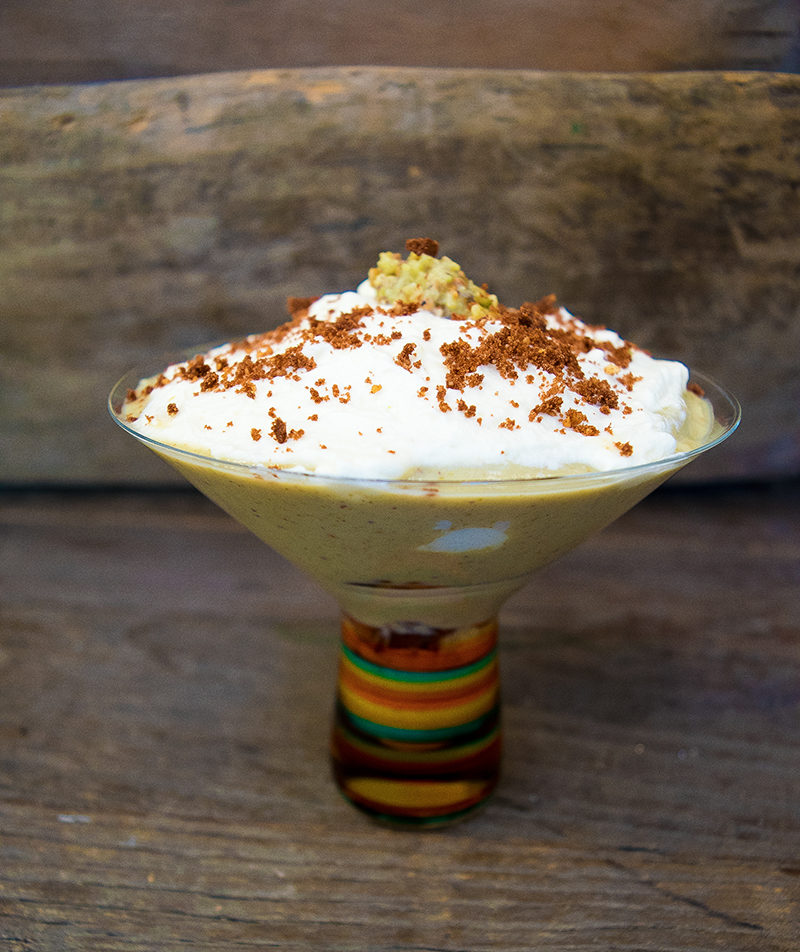
If you’d prefer to make a trifle, in a medium trifle dish, or mini parfait glasses, spoon a small amount of pudding into the bottom of the bowl. If you wish, you can add some of the nut mixture, or you can use simply as a garnish. You may also wish to layer whip cream but this is up to you. After the pudding, break a cookie into the size you wish to fit your bowl, or fit as many cookies in as the bowl will fit. Continue layering, pudding, (nuts, whip cream), cookies, pudding, cookies, until the pudding reaches the top. Cover the top with whip cream and garnish with nuts.
Chill for 4 hours or overnight. Serve cold and enjoy!