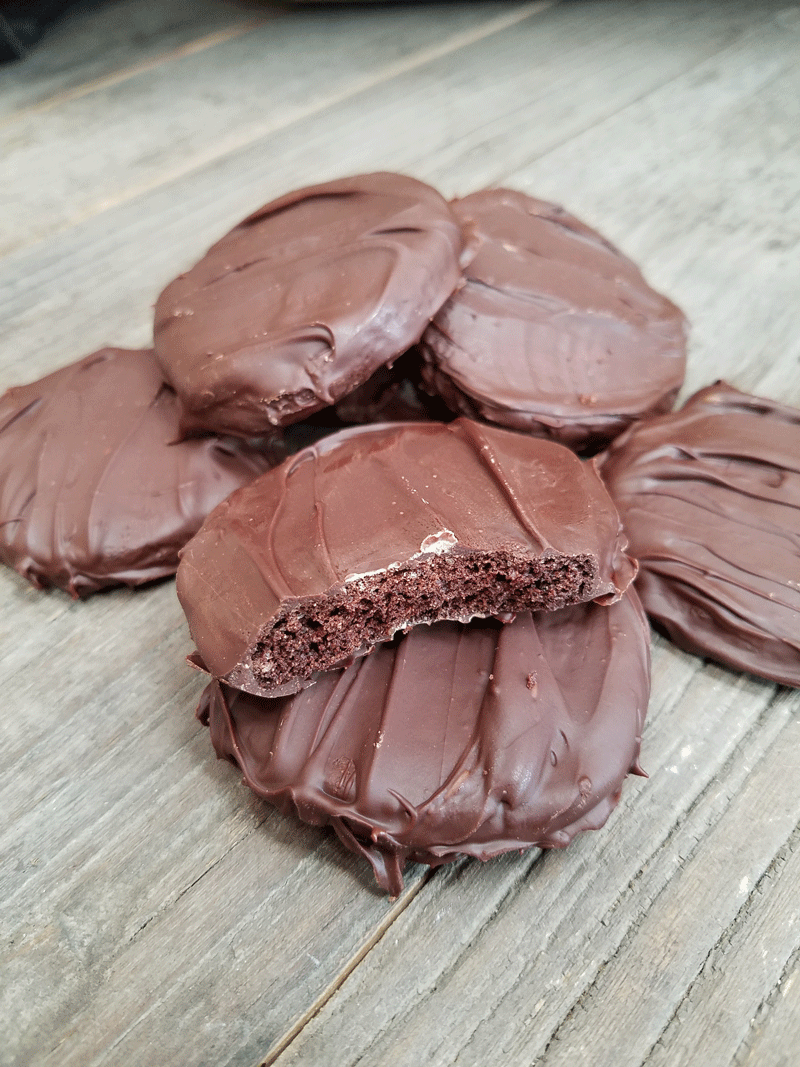
Girl Scout Cookie month may be over, but if you missed the window for getting your hands on some, or are in serious relapse, then never fear, your After-Girl-Scout-Cookie-Month fix is here. Personally, my favorite girl scout cookies are Samoas. Unfortunately, I am in the minority in a family made up of thin mint lovers. I might even go as far as to say that they are obsessive in the their love of thin mints. It is for this reason that I came up with a recipe for for a gluten-free thin mint cookie. This recipe is adapted from Silvana Nardone’s Book, Silvana’s Gluten-Free and Dairy-Free Kitchen, available here. These cookies are not too far from their gluten-filled counterparts and are, surprisingly, not too hard to make.
Ingredients:
1 cup gluten-free all-purpose flour (I use the America’s Test Kitchen Recipe)
1/2 cup unsweetened cocoa powder
1/2 teaspoon baking powder
1/2 teaspoon baking soda
1/2 teaspoon salt
3/4 cup granulated sugar
5 tablespoons butter
1 egg plus 1 egg yolk, at room temperature
1 teaspoon vanilla extract
1 1/2 to 2 teaspoons peppermint extract (depending on how minty you like your Thin Mints)
Confectioners’ sugar, for dusting
12 to 16 ounces semisweet chocolate chips or chocolate chopped
½ teaspoon to 1 teaspoon peppermint extract for chocolate (depends on how minty you want the cookie.)
Directions:
-
- In a bowl, combine the flour, cocoa powder, baking powder, baking soda, and salt.
- In a separate bowl, beat together the sugar and butter on medium speed until creamy, about 1 minute.
- Reduce the speed to medium-low and add the egg and extra egg yolk. Add vanilla and peppermint extracts.
- Slowly add the flour mixture until just combined.
- Dust the cookie dough, your hands, and a piece of parchment paper with confectioners’ sugar. Scoop the dough onto the paper and shape into a flat disk. Place in the fridge for 30 minutes or until firm. Meanwhile, preheat the oven to 350 F. Prepare a baking sheet with parchment paper and butter spray.
- Once the dough has chilled, roll out onto the parchment until it’s 1/8 to 1/4 inch thick. Using a 1 1/2-inch round cutter, cut out cookies from the dough and place them on a plate that will fit in your freezer. Chill for 15 minutes.
- While the first batch is chilling, re-roll the left-over dough and repeat cutting cookie shapes.
- Once the cookies have chilled, place them 1/2 inch apart on a baking sheet lined with parchment paper. Bake for 10 -18 minutes, being sure to turn the tray halfway through baking. The cookies should be dry, crisp, and firm around the edge. If the cookies cool and are still soft in the center, they need more time in the oven. Let cookies cool on the baking sheet for a few minutes, then transfer to a wire rack. Repeat with remaining cookies.
- Meanwhile, in a double boiler or a heatproof bowl, either set 2/3’s of the chocolate over a pan of gently simmering water, or microwave for 30 to 35 seconds. Once melted, add remaining chocolate and stir until all is melted. Add peppermint extract to taste. Submerge cookies in chocolate using a fork and make sure cookie is covered. Allow excess chocolate to drain on a wire rack with parchment paper underneath. Repeat with all cookies.
- Let set for 30 minutes, or place in the fridge or freezer for 10-15 minutes to speed up the process.
- Enjoy! Cookies will keep in an airtight container for up to a week.
