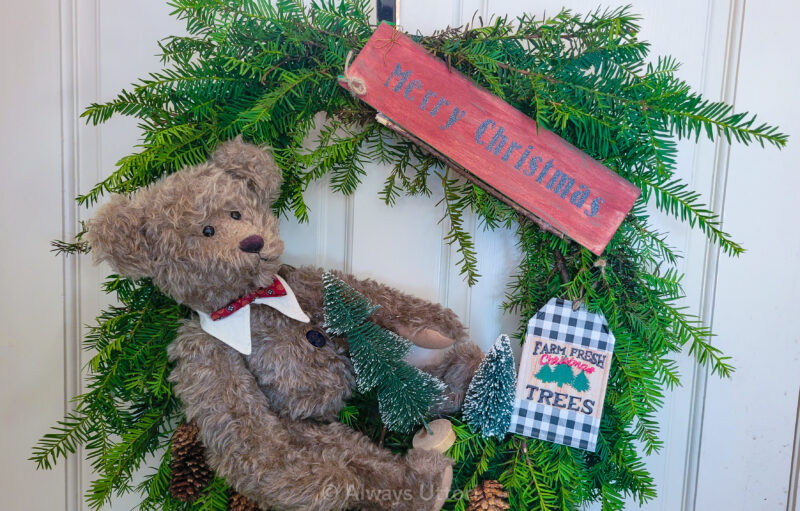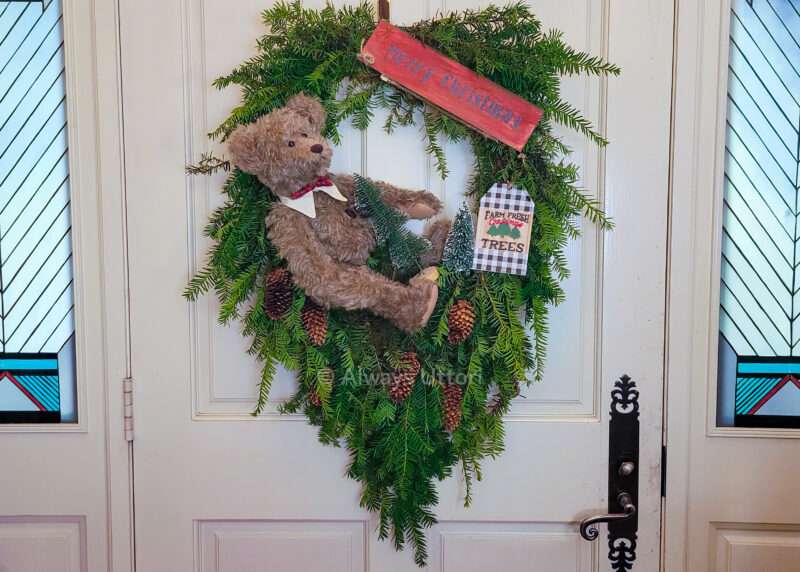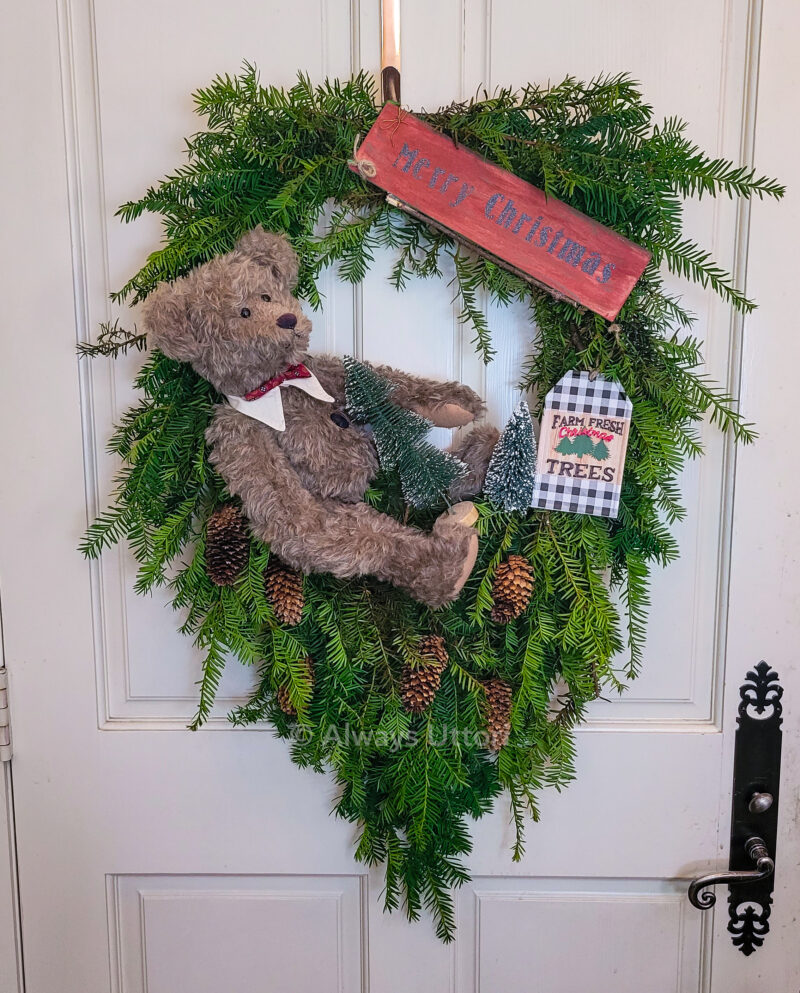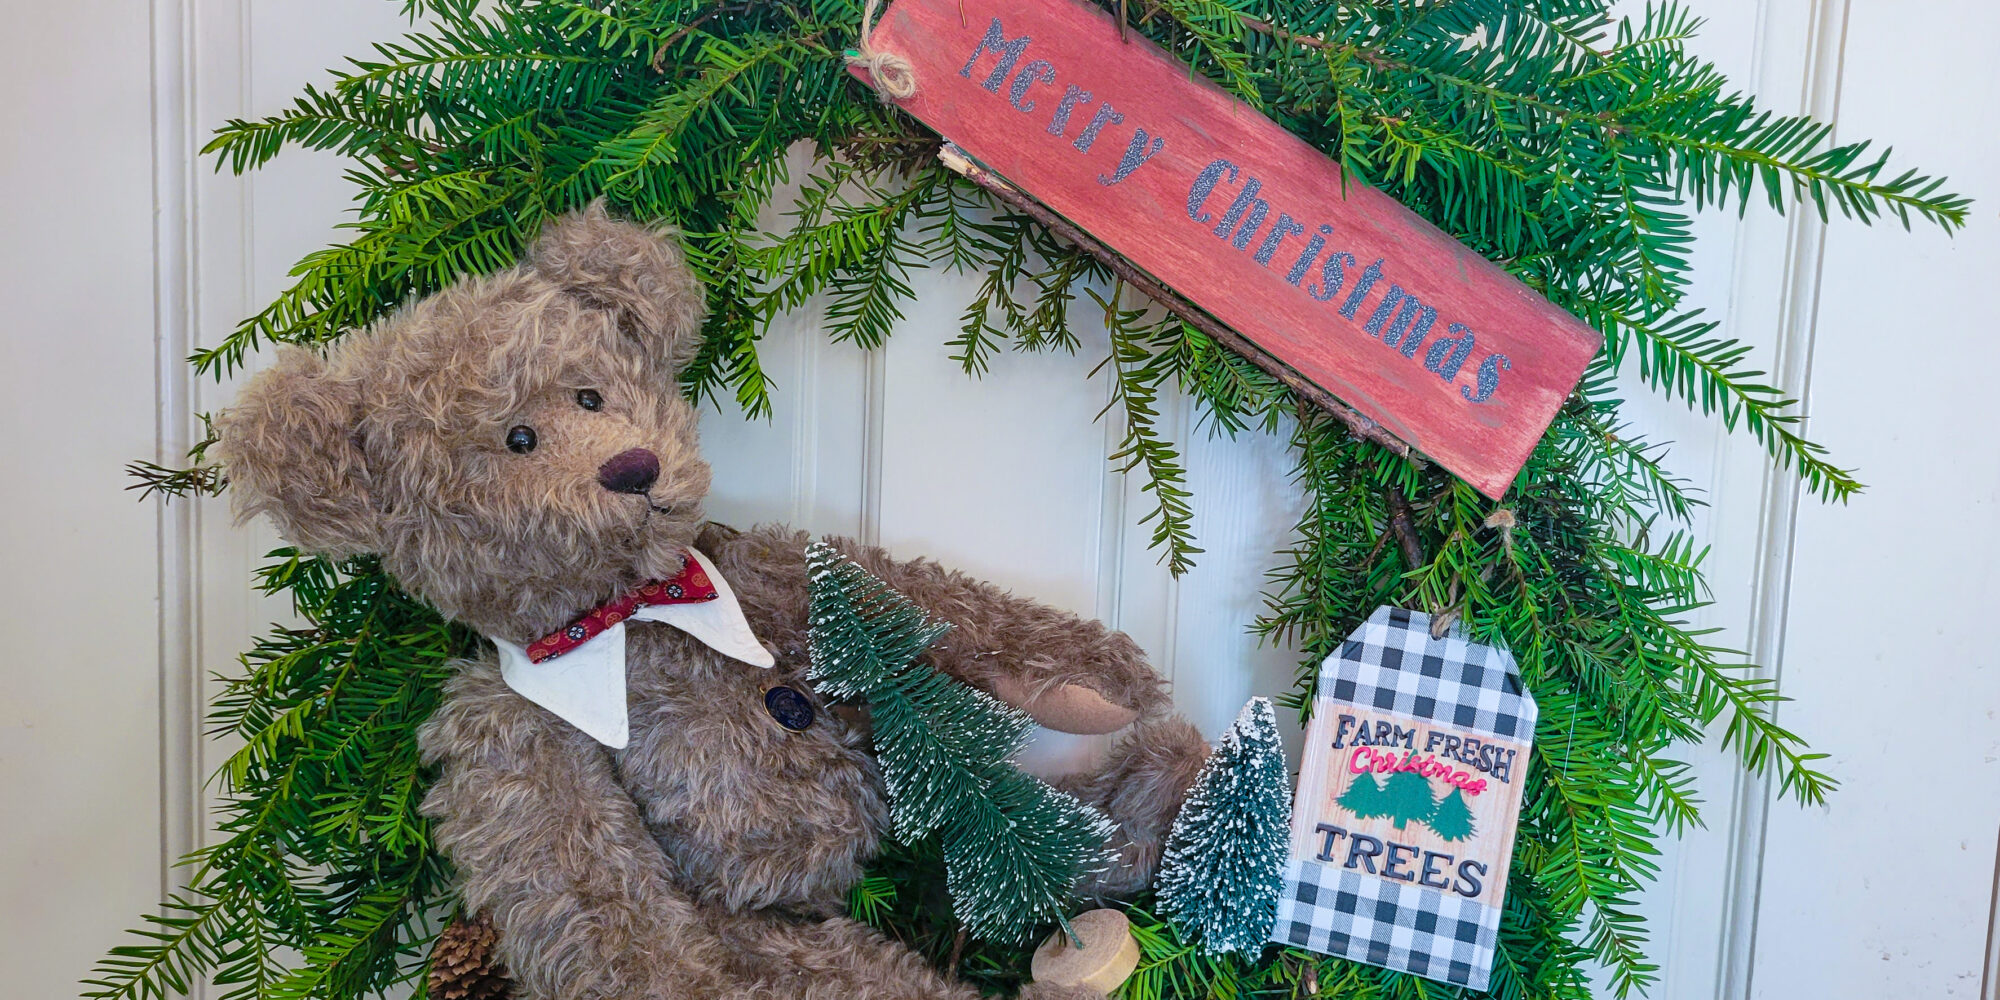
Make this Adorable Teddy Bear Holiday Wreath for Under $15
Today we’re celebrating Christmas in July. For those who like to plan ahead, there is no better time than now to start thinking about Christmas 2023, so I’m sharing a quick wreath to get you started with your Holiday décor. If you want to get some Christmas 2023 color inspiration, then check out our 4 Need to Know Color Trends for Christmas 2023 article!
You can watch the video below to see how to make the wreath, or keep scrolling for written instructions.
Make the Teddy Bear Wreath
I was inspired by teddy bear wreath I found on Pinterest by folk artist Sue Corlett, so when I came across an adorable vintage bear on a recent thrift trip and I knew it would make the perfect Christmas in July project.

Materials:
Wreath form (Dollar tree)
Wood sign (Dollar Tree)
Teddy Bear (I thrifted my bear from Goodwill. Cost: $6.99 If you choose to thrift a bear for this wreath, make sure to sanitize it. Instructions for sanitization)
Pine boughs (from front yard) – But during the holiday season, pine boughs are readily available and can cost from $9.00 a bundle (from local grocery store) to $19.90 (Costco’s price last year), depending on how much you want to purchase.
Floral Wire (Dollar Tree), or 32-gauge wire if you’re buying from Hobby Lobby or Michael’s
Pine Cones
1 – 2 bottle Brush Trees (Dollar Tree)
1 bottle each of Rich Art or Apple barrel paint in green, red, and brown
Permanent Vinyl
Directions:
- For this project, using fresh cuttings, but you can use what you have on hand, be it fake garlands, fresh cuttings, or kits you can find at Costco or Trader Joes in the coming month
- Cut off branches from the cutting to form smaller stems and bunch them together in groups of 3-4 depending on how full the bunch is looking.
- Use floral wire to attach the stems together and then place them around the wreath form, to get a feel for how many bunches you need to make.
- Once you have enough branches to cover the wreath form, use floral wire to attatch the bunces to the wreath form by wrapping the wire around the bunch stems and then around the wire wreath frame until the bunch is secure. I chose to arrange the branches laying away from each other on either side until they meet at the bottom of the wreath. You can choose to arrange your wreath with the branches going in the same direction or in opposite directions as I have done in this wreath.
- Once you’ve attached all of the greenery, it’s time to secure your bear to the wreath form (you can add more branches to fill out the wreath once the bear is attached).
- The bear I used had joints so I wrapped floral wire around his back leg joint and then attached the wire to the wreath form. If your bear doesn’t have joints, try to put the wire as far back on the leg as possible and fluff the fur around it to help hide the wire. Repeated the same process at the arm joint to securely attach the bear to the wreath.
- From here, you can fill out the wreath more, filling in holes with more branches. I chose to add more boughs to the bottom to create a “V” shape to the wreath. To do this, add longer branches to the bottom center of the wreath until you get your desired “V’ shape.
- Now you can get creative. I used two bottle brush trees, two signs from dollar tree, and pine cones to decorate my wreath but you can use whatever you want. I attached all decorations with hot glue.
- To make “Merry Christmas” sign: Measure the length of a wood blank and keep this measurement to cut out letters. Paint a wood blank red. For a rustic look, don’t paint the wood blank fully and leave some of the original wood showing through. Let dry. While the paint is drying, use the cricut softwear to spell out “Merry Christmas” and adjust to your measurements. Cut out on permanent vinyl using the cricut or other cutting machine. If you don’t have a cutting machine, you can freehand paint the letters on, paint, stencil or hand cut out letters. I attached the sign with more floral wire and hot glue.
- Use floral wire to attatch the bottle brush tree to the bear’s arm so it doesn’t tip when the wreath is hung.
- You’re done, hang the wreath and enjoy!
Notes: Because it’s christmas in July, if you’re lucky enough to live in an area that has pine trees, it’s a great time to forage pinecones. I got mine from my yard, but if you are foraging from another area, make sure it’s allowed, and only take what you need. If using fresh pinecones, you need to cure them by baking them in an oven at between 200-275 degrees Fahrenheit for anywhere between 20-45 minutes depending on the size of pinecones. This kills off any bugs, mildew, and melts the sap that’s hiding in there. Just make sure your baking sheet is lined with foil.
Cost
I think it would be easy to make a similar wreath for around $30 if you had to buy everything. Pine boughs might be the most expensive part of the wreath but around the holidays they are readily available and can cost between $9.00 like I saw at my local grocery store last year, or $19.90 at Costco, depending on how much you need. Since I used things from my yard all of that was free, and the rest of my costs included the bear I thrifted for $6.99, $6.25 at dollar tree for the wreath form, two signs, and bottle brush trees and I’ll calculate about $0.52 for the amount of floral wire and $0.50 for the paint and vinyl I used for a total cost of $14.26.


