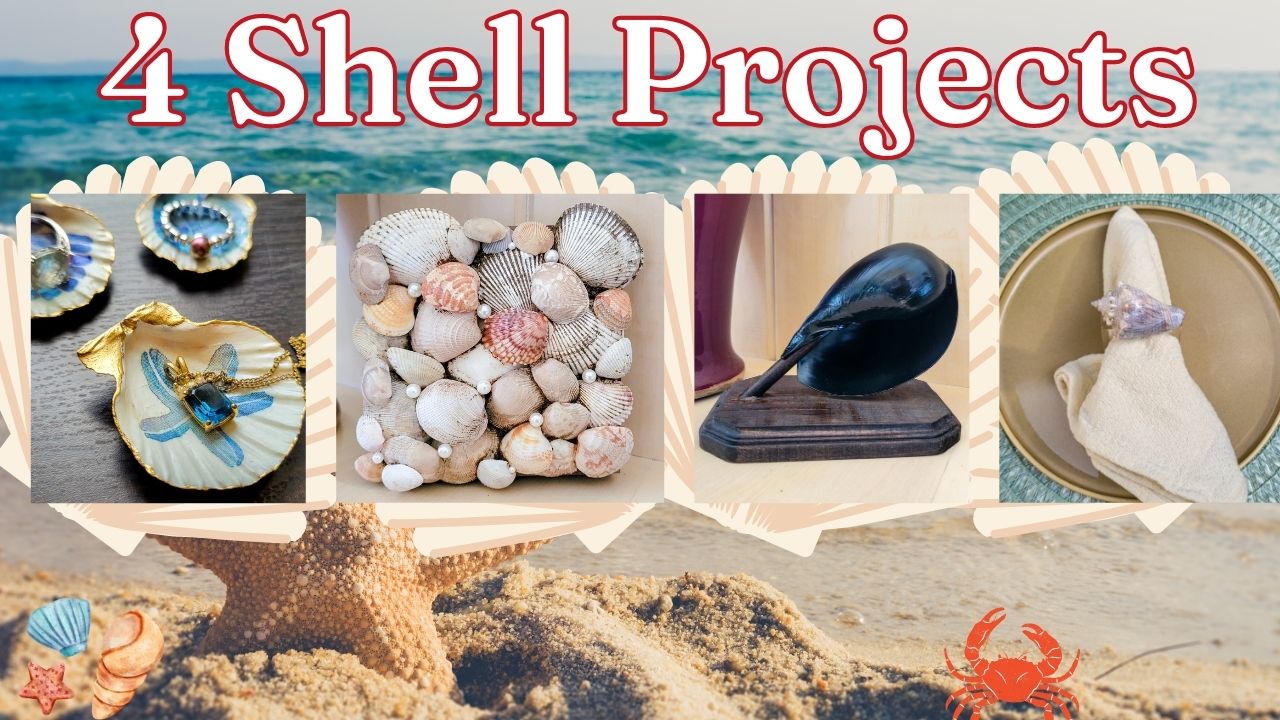
4 DIY Seashell Home Décor Projects
It’s the height of summer and if you’ve taken a vacation or are planning on taking a vacation to a beachy location, chances are, you’ll come across seashells. The question is, what to do with them? That’s the problem we’re tackling today. We’re making 4 seashell home décor projects as part of the mermaidcore and siren trend that has taken over this summer in both the fashion and home décor world. If you want to learn more about this trend, be sure to check out our deep dive on the mermaidcore fashion trend here as well as our mermaid inspired chia seed pudding recipe. Now let’s get into our projects!
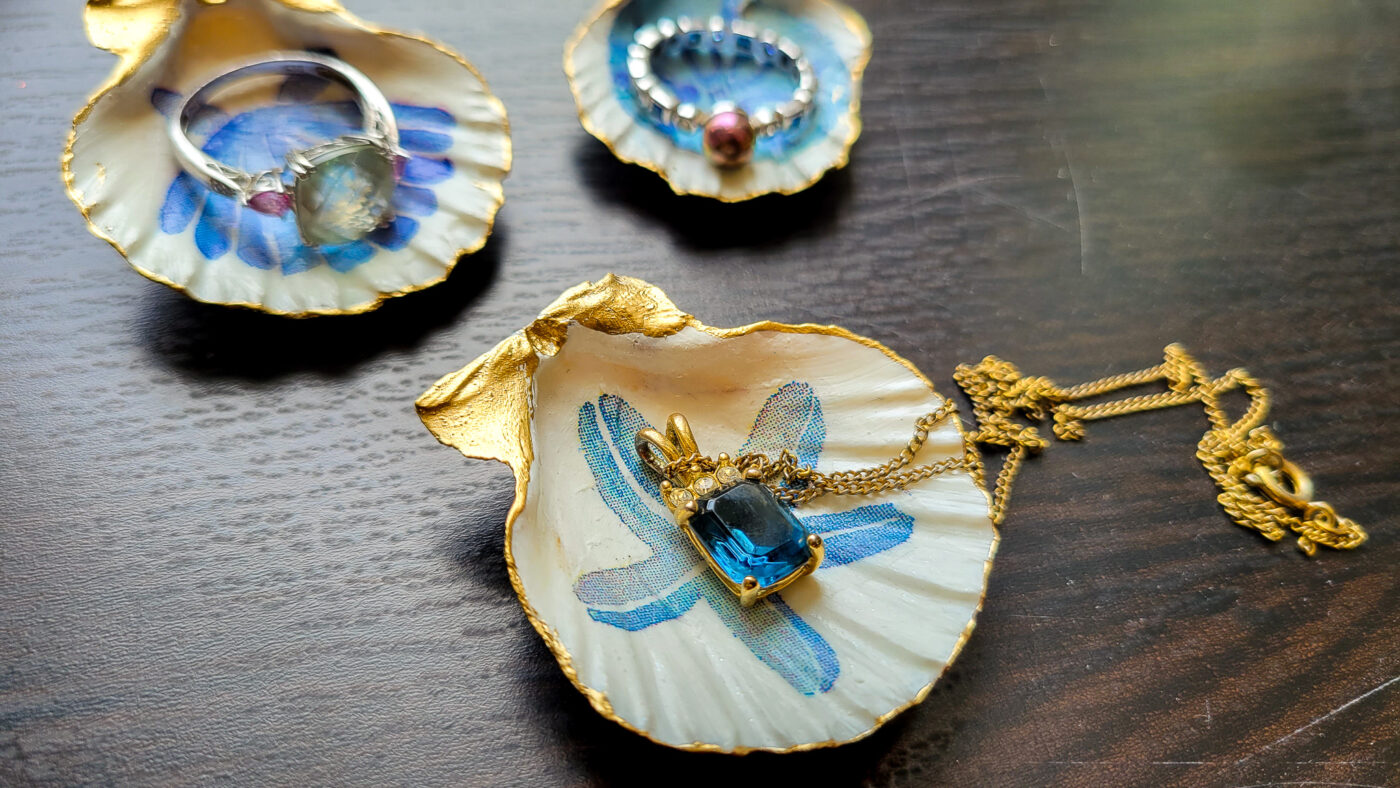
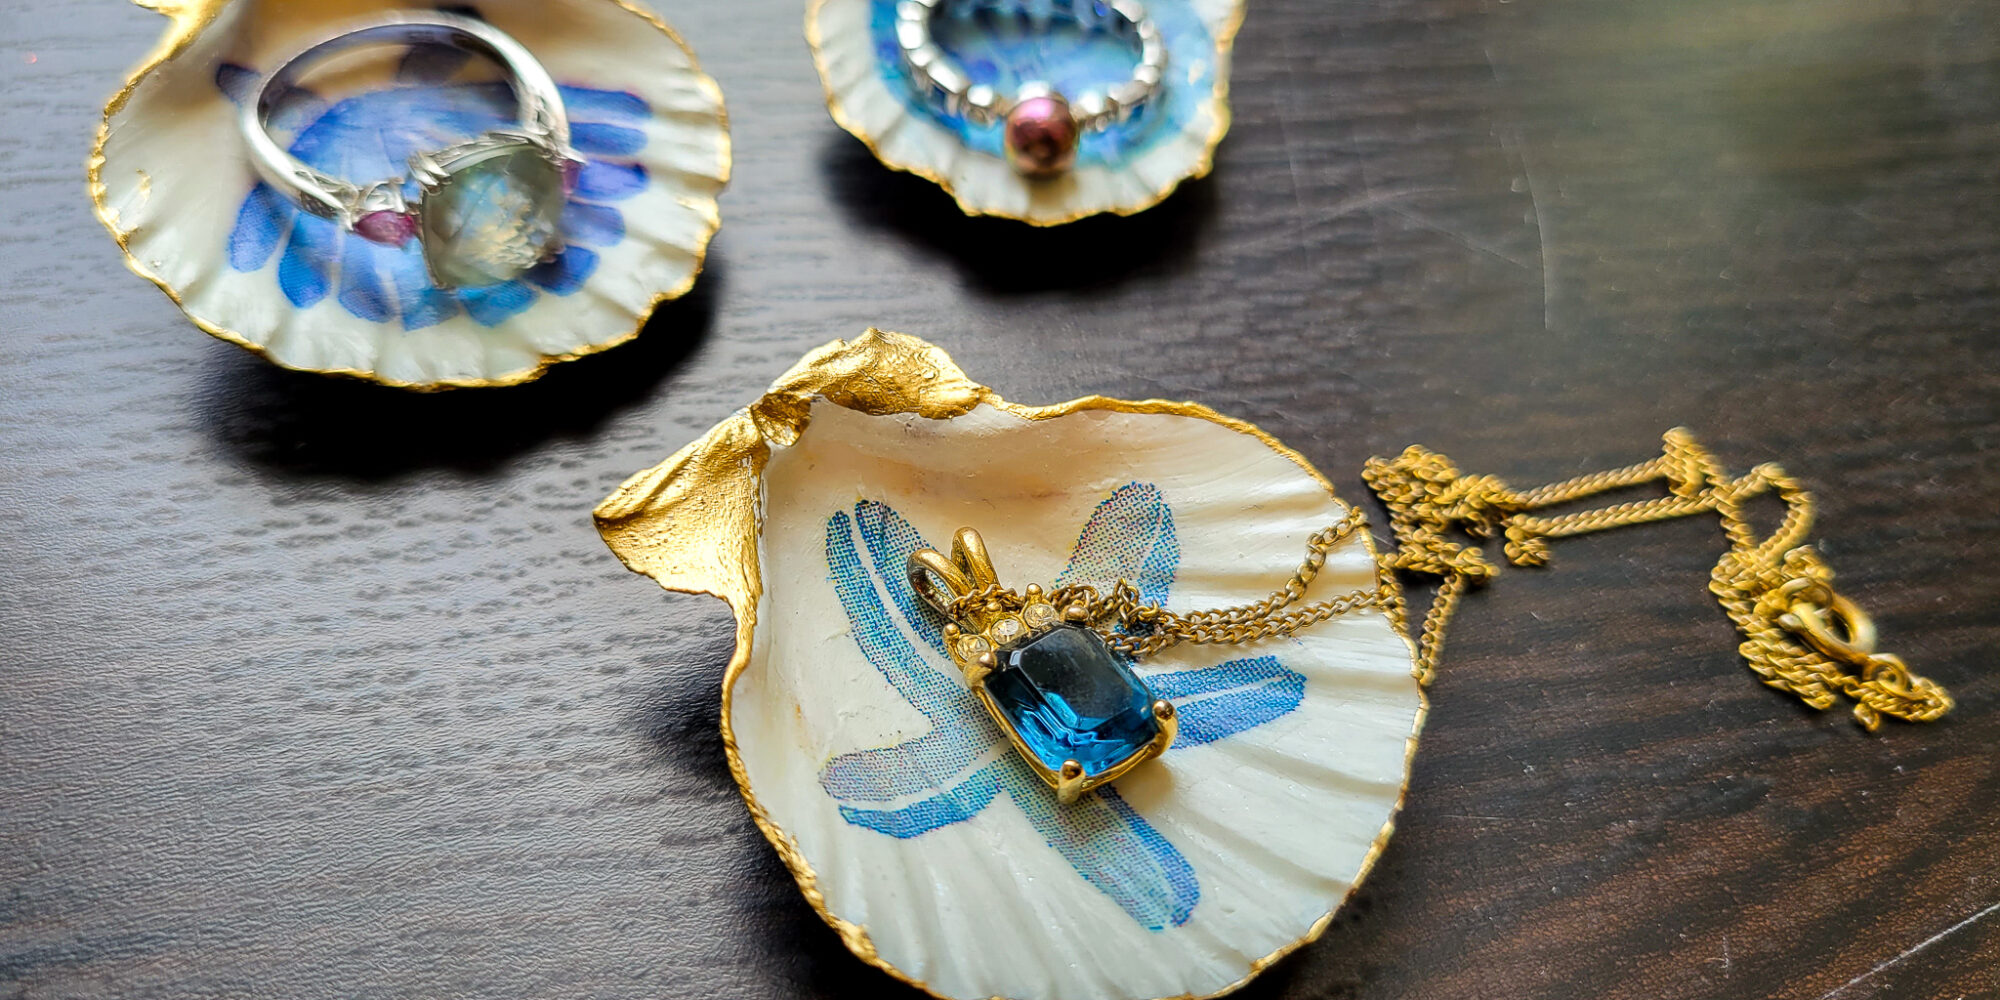
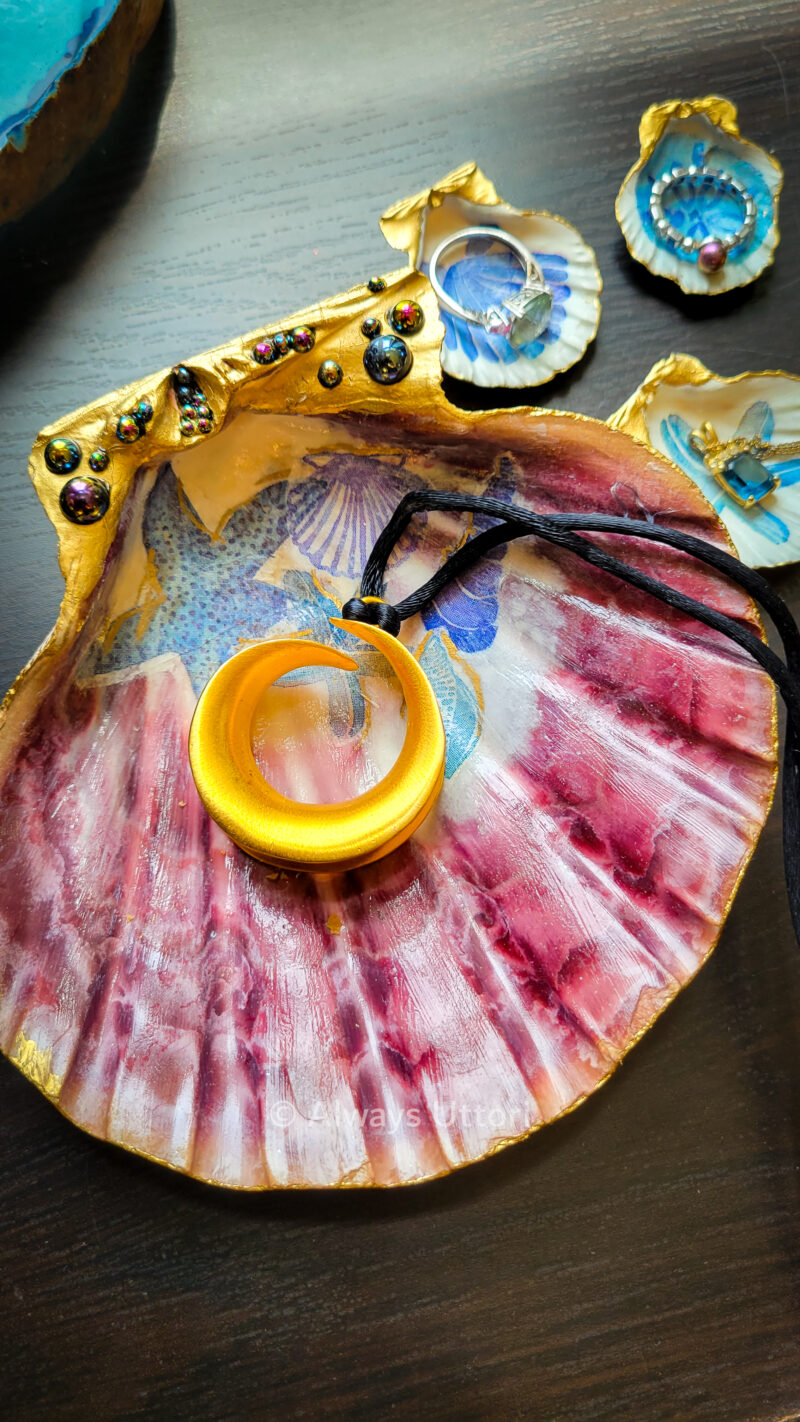
Scallop Trinket Dishes
I found inspiration for these shell trinket dishes on Pinterest and YouTube. They are really easy to make yourself and super customizable.
You’ll Need:
- Scallop shells
- Printed napkins/ paper/ fabric
- Mod podge
- Paint brush
- Water
- White acrylic paint
- Gold leaf paint pen
- E6000 glue
- Flat back pearls
Directions:
- Make sure the shells are clean/washed and then dry them. Add a little bit of water to white acrylic paint so it’s not so opaque. Paint the both the underside of the shell as well as the inside of the shell with the white paint and let dry. You can do one to two coats depending on your preference.
- Cut out the pattern you want to use from the napkin, fabric, or paper you’ve chosen to decorate the shell with. Cut to fit inside the shell.
- Paint a thin layer of mod podge in the shell then place your print on top. Paint another thin layer of mod podge on top and make sure to smooth out any wrinkles. Let the shell dry.
- Use gold paint or a gold leaf paint pen to color the edge of the shells for a gilded look. Be sure to paint the area where the shell hinges as well!
- If you want to add some bling you can use E6000 glue to attach faux flatback pearls, rhinestones, or whatever else you might like.
Use the shells to hold jewelry, keys, and other trinkets. These make great gifts as well!
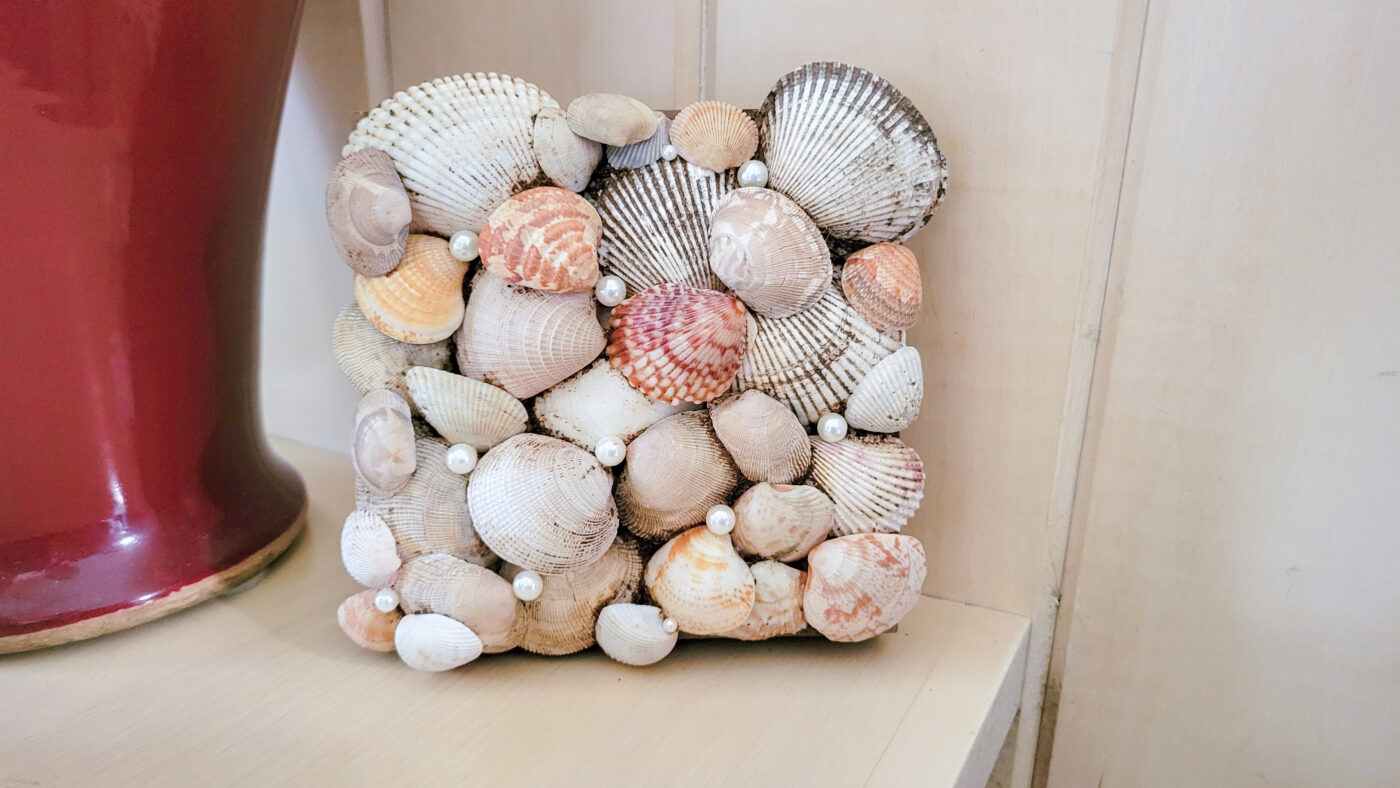
Shell Wall Art
I found inspiration for this wall art on Pinterest. This is a great way to show off a shell collection or to create an interesting art piece.
You’ll Need:
- Assortment of shells
- Canvas or wood board
- Brown acrylic paint
- E6000 Glue
- Optional- coffee grinds and faux pearls
Directions:
- Paint your canvas or woodblock brown (or any color of your choosing). Let dry.
- Pick and arrange an assortment of shells on your canvas making sure all of the canvas is covered. This is the time to determine the layout for the art piece. Pay attention to shell size, patterns and colors to create a nice design. You may need to layer the shells on top of each other to fill in gaps. Once you’ve decided on a design, remove the shells from the canvas.
- Use E6000 glue to attach the shells to the canvas. Glue the bottom edges of the shells and place in the design you created. Once all the shells are attached let it dry for several hours.
- Once the shells have dried onto the canvas your done, however, you may wish to use coffee grinds and some water to stain the shells a brown color. Add a little water to some coffee grinds and use a brush to place it on the area of the shells you want to stain. Let dry then tap off remaining coffee grinds.
- If there are any gaps you couldn’t fill in with shells, you can glue some faux pearls into these spots with E6000 glue.
- Attach a hook to your canvas if you want to hang the piece or lean the art against a wall or in a bookshelf.
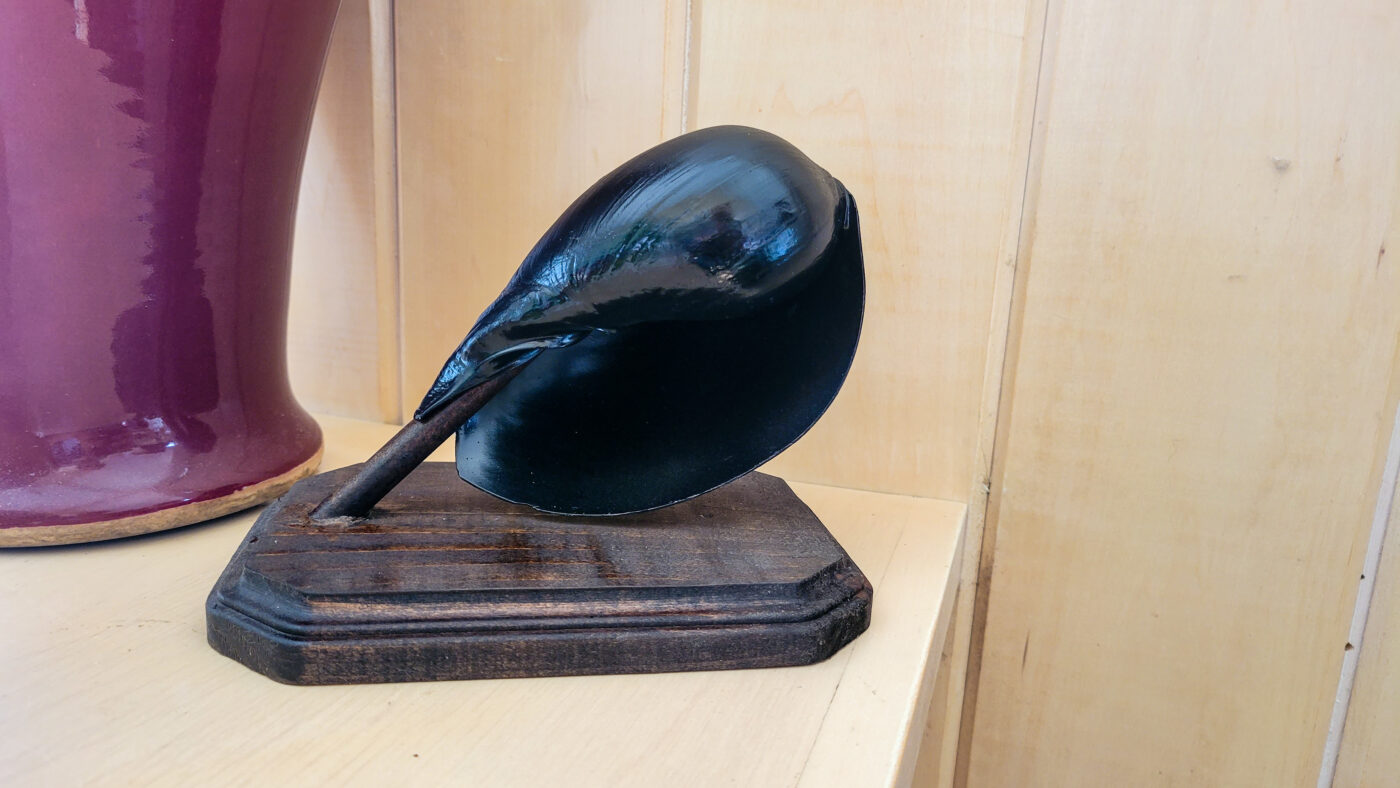
Large Statement Shell
This project is a little more involved, but pays off with a beautiful display piece.
You’ll Need:
- One large shell
- Black spray paint
- Glossy coat spray paint
- Dowl rod of any diameter
- Wood plaque (from dollar tree) or wood block
- Wood stain (I used dark walnut)
- Drill
- E6000 glue or wood glue
Directions:
- Wash and dry a large shell of your choice.
- Spray paint one side of the shell black. Make sure all nooks and crannies are thoroughly covered. Let dry and repeat on the other side of the shell. After the shell is covered and dry, apply a glossy coat of spray paint. And let dry.
- Determine how long you want your dowel rod to be and at what angle you want the dowl rod to sit. You can hang the shell on the rod and position it over the wood plaque/block to determine the length and angle. Mark the length and take note of the angle. I preferred my shell to stay within the circumference of the plaque so I made my measurements following that guideline.
- Cut the dowl rod to the length you want with a hand saw or table saw, or get it cut at a home improvement store.
- Attach a drill bit to your drill that is the same size as or as close as possible to the diameter of your dowl rod. Depending on the angle you want your dowl rod to sit in the plaque, you may want to find a book or wood piece that helps you to drill the hole at the correct angle.
- Start by drilling straight down on the plaque until you have some traction (about 1/8 inch) and then angle the drill to the angle you want the dowl rod to sit at. Begin drilling again until you have a deep enough hole for the dowl rod to sit in. If your drill bit is a little smaller than your dowl rod diameter, you may need to wiggle the drill around a bit to create a larger hole. Test that the dowl rod fits in the hole before moving on.
- If you want you can (carefully) whittle down one end of the dowl rod with a box cutting knife to help it fit more securely in the plaque.
- Glue the dowl rod into the hole with either E6000 or wood glue. Let dry.
- Sand the wood plaque to make sure there are no rough edges and wipe clean with a dry rag.
- Use a rag or foam brush to stain the wood in the color of your choice. Let dry for 24 hours.
- Once the plaque is dry, set the shell on top of the dowl rod. You may also choose to glue the shell to the rod using E6000 glue.
And it’s done, some great places to display your piece include in a bookshelf or on your desk!
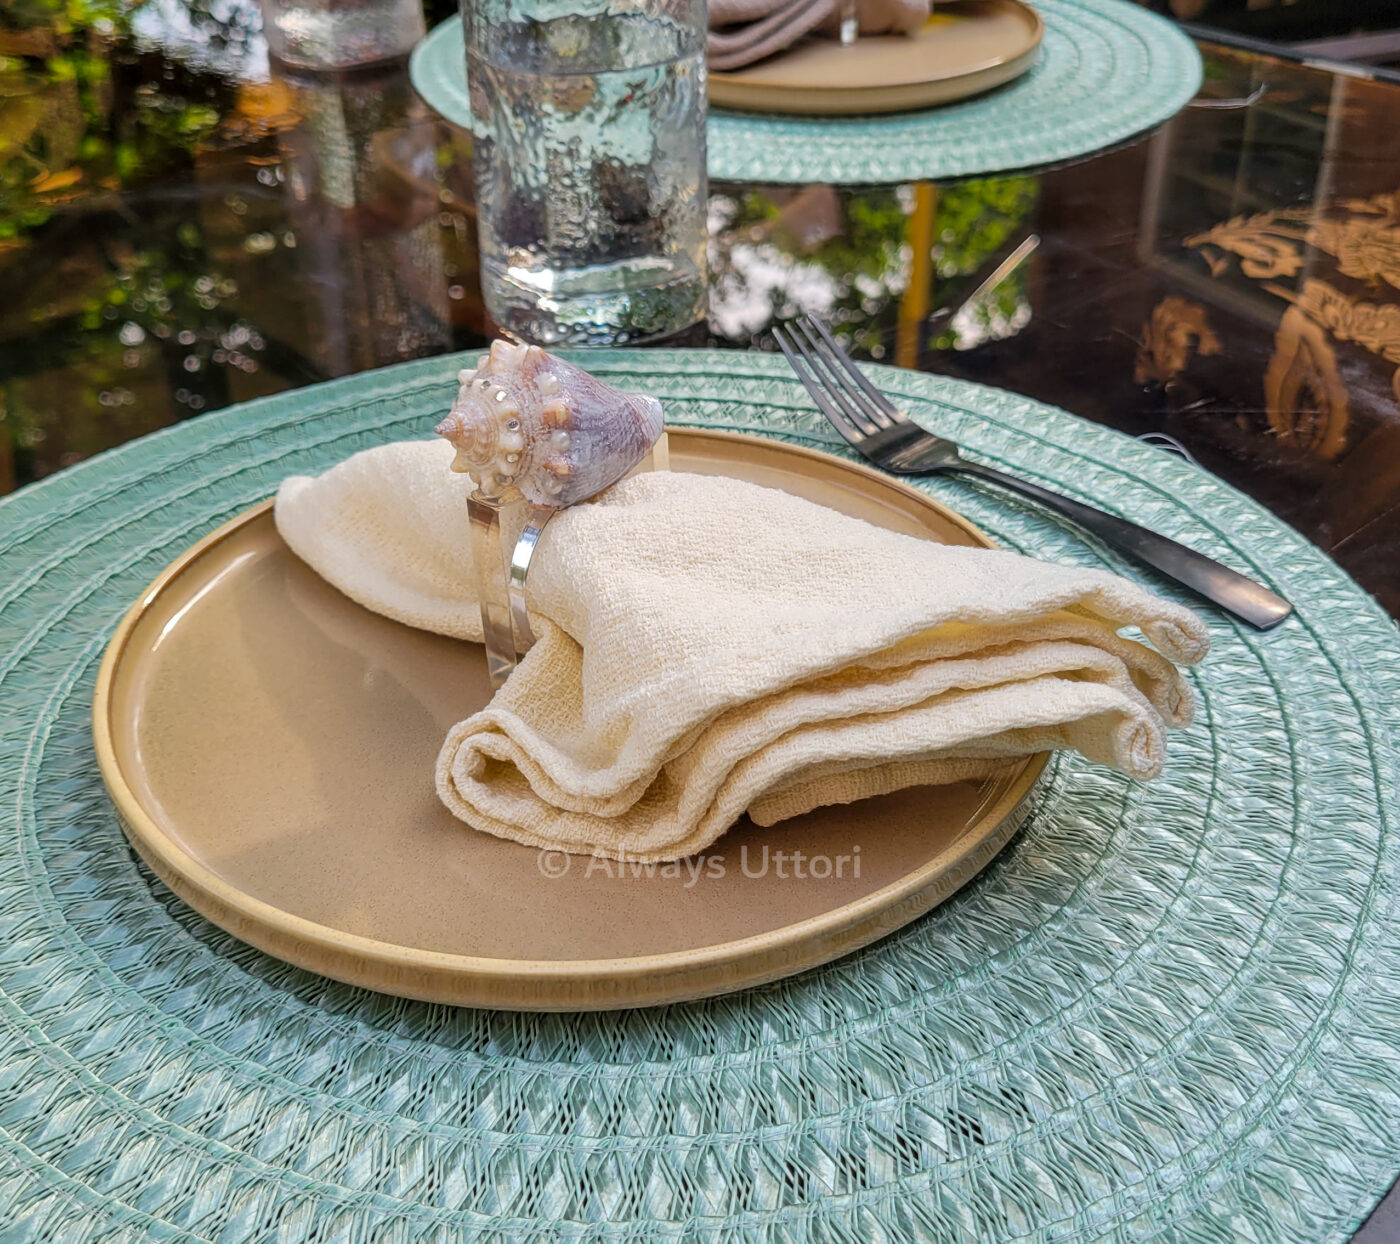
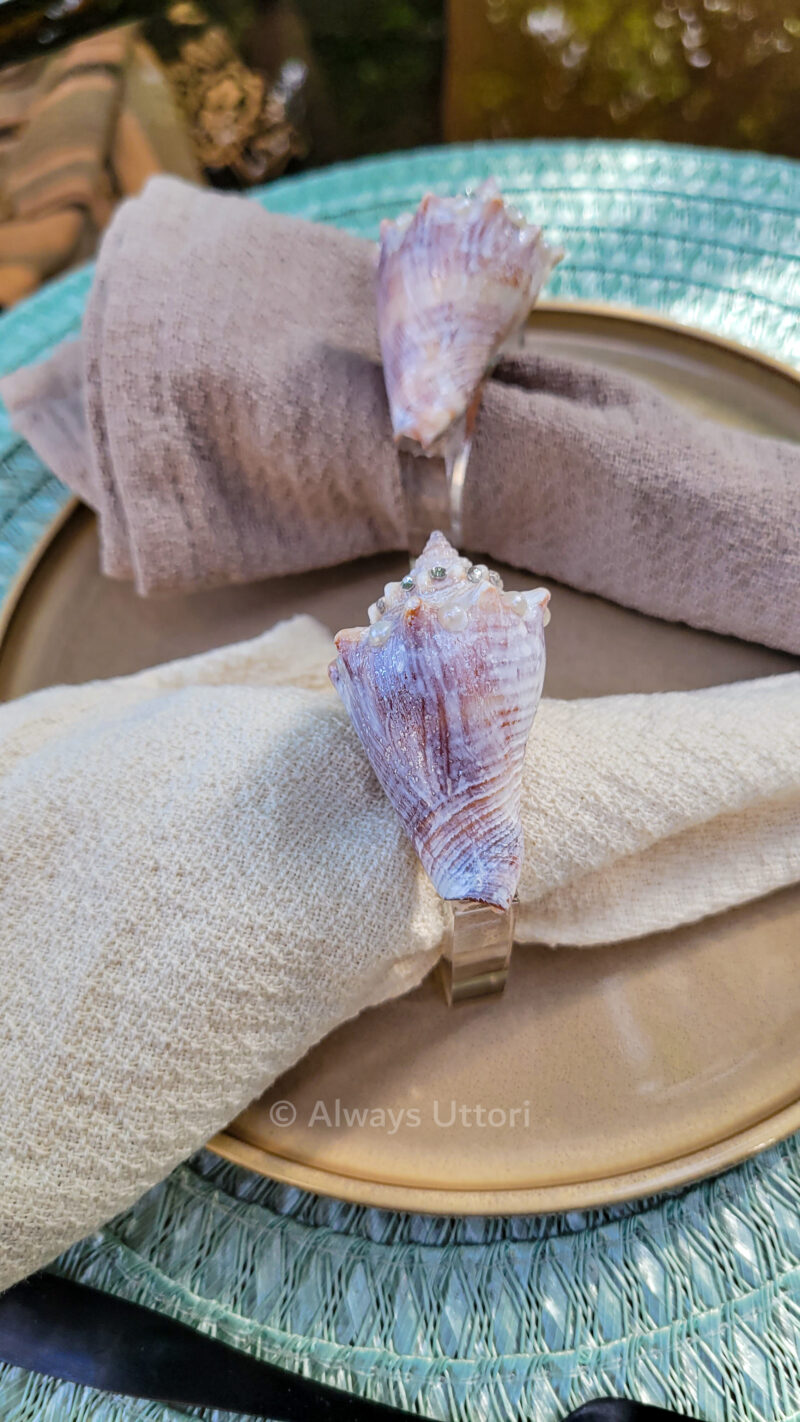
Shell Napkin Rings
Elevate the beach aesthetic with these chic shell napkin rings.
You’ll need:
- 4 conch shells
- White acrylic paint or pearlescent white paint
- Pearl mica or glitter
- Water
- Mod podge matte or glossy
- Flatback adhesive pearls
- Rhinestones
- Napkin rings
Directions:
- Pick 4 similarly sized and patterned conch shells. Wash and dry them.
- If you want a shimmery effect, you can add glitter or mica powder the white acrylic paint or use pearlescent paint. You may wish to add some water to the paint as well so that it is more translucent rather than opaque.
- Paint the shells with one to two coats depending on how much coverage you want. Let the shells dry in between coats. I did two coats on mine and sprinkled additional glitter on top of the shells before the paint dried.
- Now use mod podge to attach flatback pearls in between the ridges of the conch shell. Apply a small amount of mod podge with a paintbrush to the space between two ridges. Carefully place a flatback pearl in the spot and continue until you have one row of pearls. As you move along the shell, you may want to decrease the size of the pearls as the spaces get smaller.
- Once you reach a point where the ridges overlap the pearls, switch to flatback rhinestones using the same technique. As you move up the shell switch to the smaller rhinestones. Let the mod podge dry once done. And complete the process on the 4 remaining shells.
- Apply a final coat of mod podge to the finished shells to protect the paint and the embellishments. Let dry.
- Use E6000 glue to attach the shells to napkin rings. Let dry.
Enjoy your shell napkin rings by incorporating them in a summery tablespace.