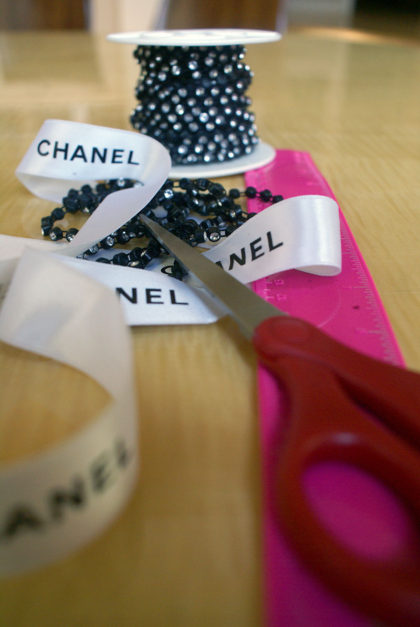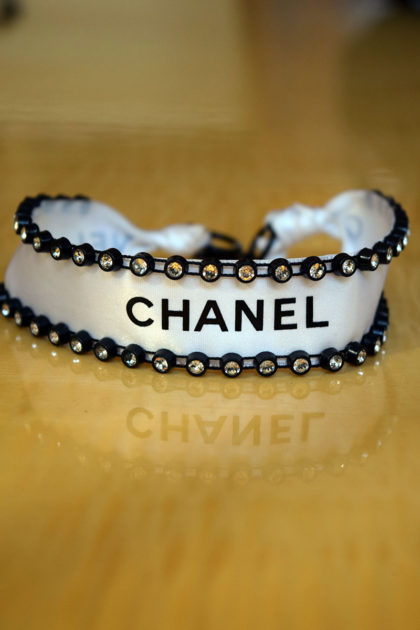
I’m not that crafty, but I can work a tube of glue. As chokers are on trend right now, and I needed one to complete the off-the-shoulder look featured on Monday’s fashion look. I decided to try making my own. Nothing could be more simple. Although chokers are not expensive, purchasing one still costs more than making your own with stuff you have lying around the house (although I did have to buy jump rings, a clasp, and glue). The Chanel ribbon I used was from a purchase made a few years ago, you can see the shoes here. If you have a fancy ribbon from your favorite luxury brand, why not re-purpose it, as I did, for a choker? If not, don’t fret, just get smooth, white ribbon, or any ribbon that fits your aesthetic. I will show you a simple version of the choker (the one featured in Monday’s look) as well as a more glammed up version!
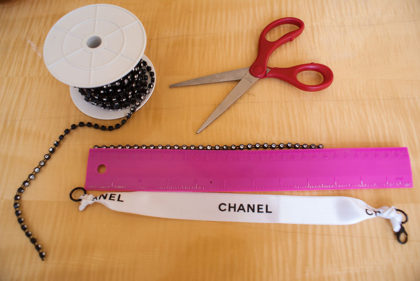
Supplies
Ribbon with a width of 1 inch (2 ½ cm)
2 – 1 ½ cm jump rings
1 – 2 cm clasp
Ruler
Pen/Pencil
Pliers
Scissors
Lighter
For 2nd look
Beaded trim of choice (I got mine from Overstock a few years back)
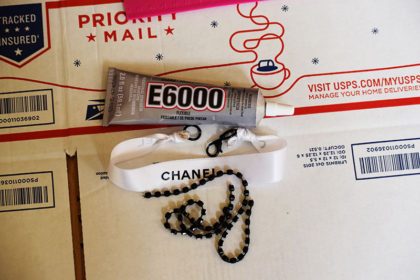
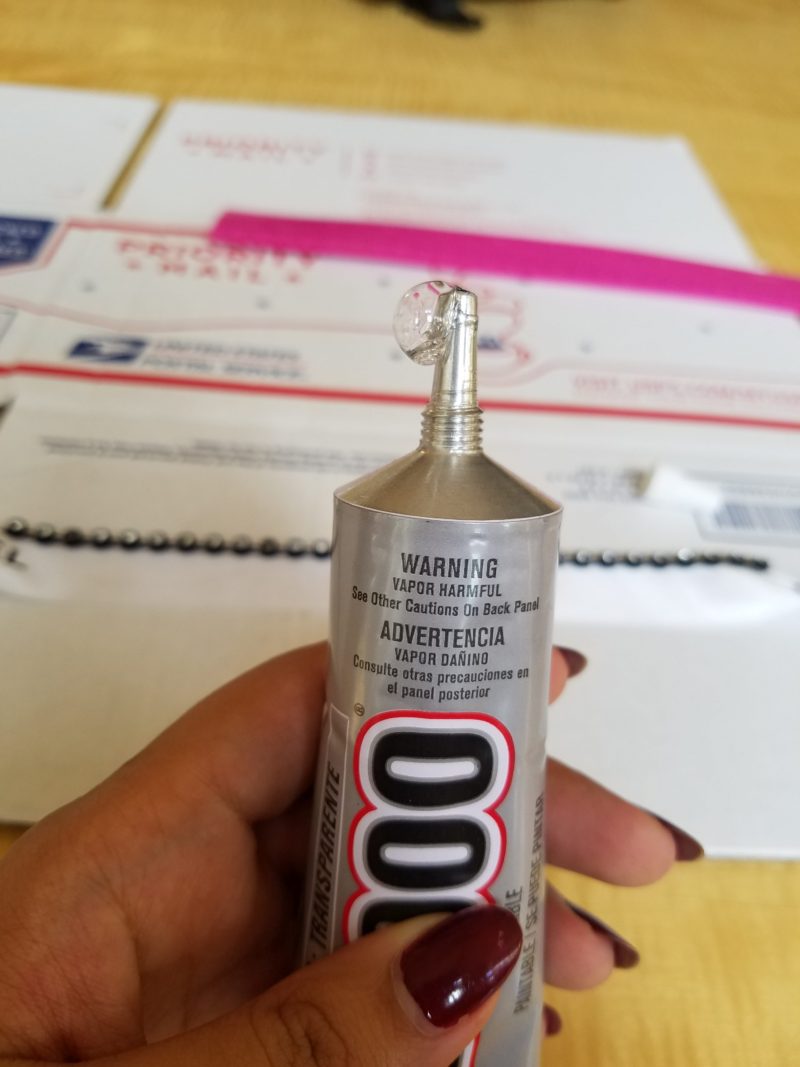
E6000 Glue in transparent clear
Toothpick
Paper towel
Protective paper or box
Directions:
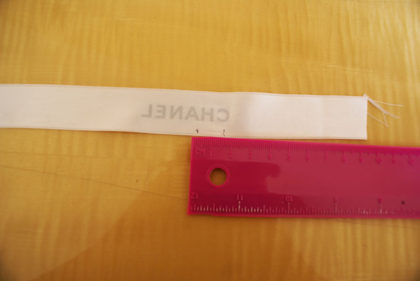
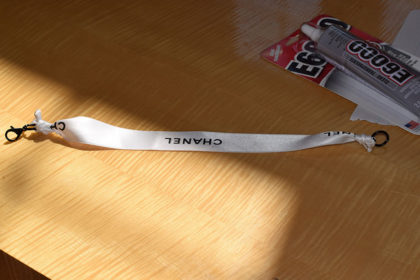
Take a length of ribbon and wrap around your neck (I started with a pre-cut ribbon that measured 20.5 inches (52cm)). If using a ribbon with a pattern or logo, make sure that the logo falls at the center of your neck before taking your measurements. Pinch where the two sides meet on either side of the ribbon, and mark with a pen or pencil on the side of the ribbon that won’t be seen. For me, the length ended up being 12 inches (30cm), but it may be different for you.
If you are using a ribbon without a pattern you want to be in the center, add an additional 6 inches to one side of the total length and cut. If using a ribbon with a pattern in the center, add 3 inches of ribbon to the total length on either side to keep the logo in the center. Cut on both sides.
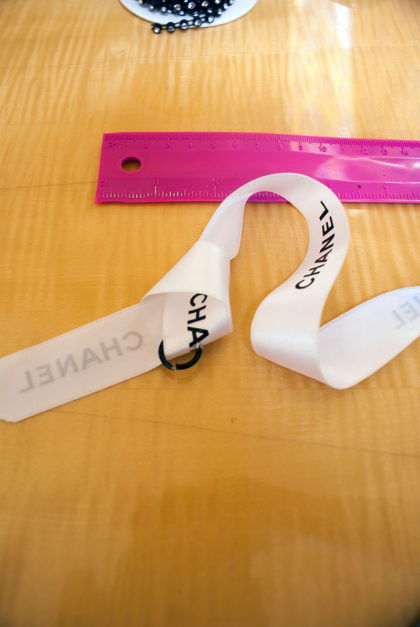
Wrap the ribbon around your neck again centering it so that you have an even amount of ribbon on both sides (or so that the logo is centered). Pinch where the two sides meet and mark where this is on the wrong side of the ribbon. Fold the excess ribbon over. The excess will make up a knot to hold the jump rings in place.
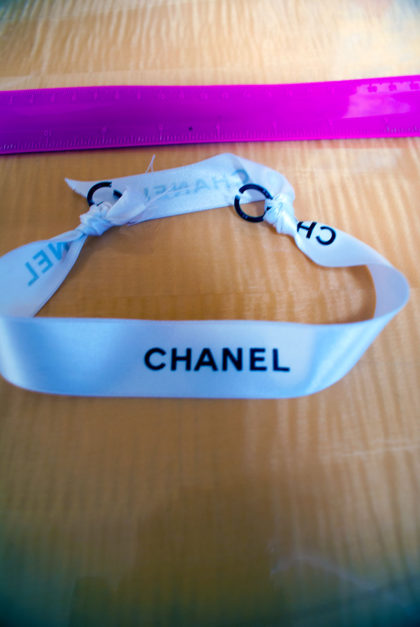
Using the mark you made to note where the two sides of the ribbon meet, measure an additional 1 ½ cm to the left of the mark. This is the side the jump ring will go. I did this on the right side, but if you are left-handed, you may wish to do this on the left side. On the left side of the ribbon, using the mark you made denoting where the two sides of the ribbon meet, measure 3 ½ cm (a total of the 1 ½ cm jump ring plus the total of the 2cm clasp) to the right of the mark. This ensures that when you add the clasps to the choker, the choker will still be relatively tight against your next. You can add a little extra space (small amounts) to make sure it’s not too tight.
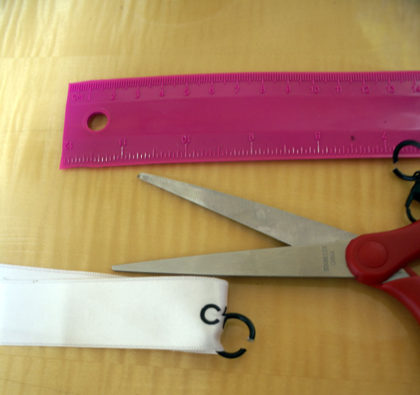
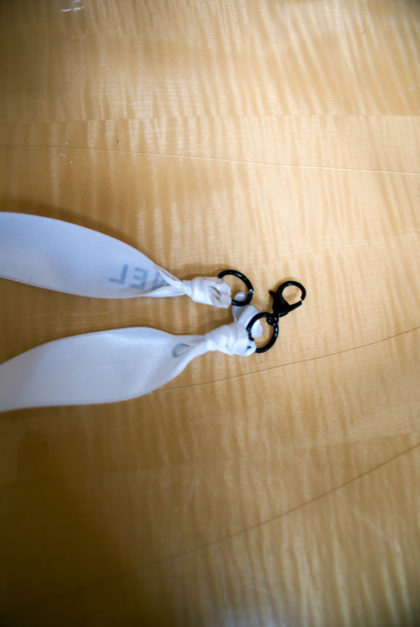
Fold the ribbon over to the new marks you made. With the scissors, make a vertical cut in the center of the ribbon right at the fold. Do this on both sides. Grab one jump ring and using pliers or fingers, pull the jump ring open and slip into the hole. Do the same on the other side. On one side, either right or left depending on your hand preference, add the clasp to the jump ring. Using pliers or fingers close the jump rings.
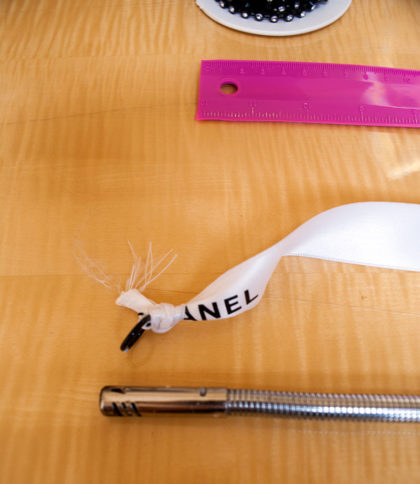
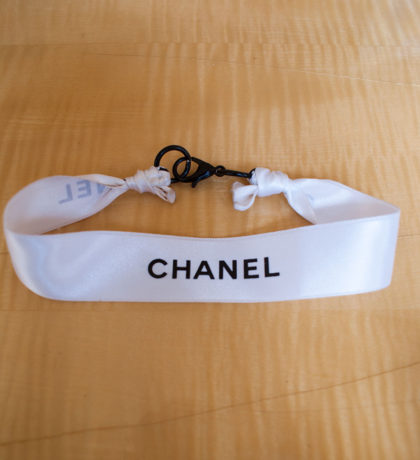
On both sides, tie the excess ribbon in a knot around the base of the jump ring. I did a double knot on mine to make sure it was extra secure, but you can stick with one knot. Cut off excess ribbon. Hold the ribbon a little ways away from the jump ring. Using a lighter, quickly run a flame around the edges of the knot to melt the ribbon. This keeps it from fraying and coming apart. Make sure to do this in small bursts so as to not set the ribbon on fire. Also beware, the metal will be hot after this. If you are a kid, I would recommend adult help or supervision. Do this on both sides.
If you prefer a simple look, your choker is now finished. Make sure the metal has cooled down before tying on. If you want to add some extra pizzazz, continue on.
- Gather Your Materials
- Always Uttori, D-I-Y Ribbon Choker.
- Measure twice.
- Cut once.
- Measure embellishment.
- Make it straight
- Logo Love
- Gluing and pressing
- Let dry
- Crafty smile
- Look 1
- Look 2: A sneak peek at one of our December looks.
Look 2
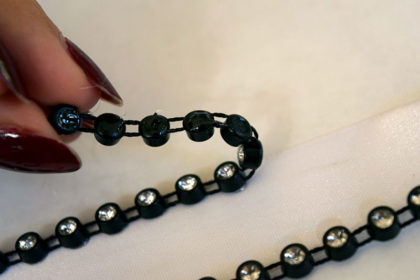
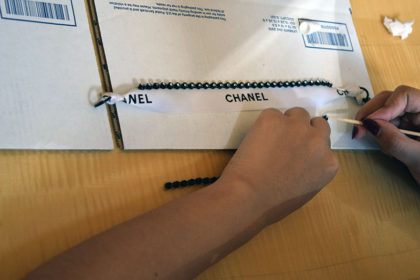
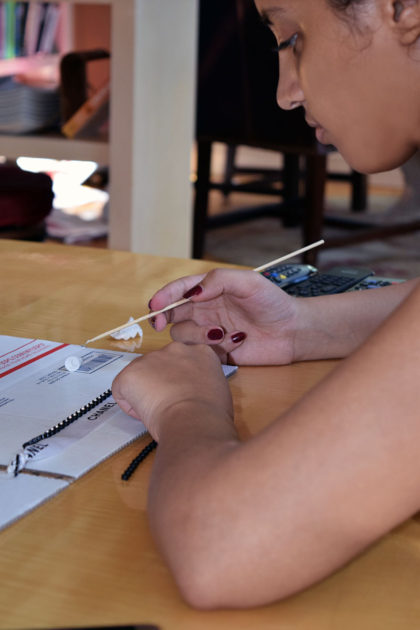
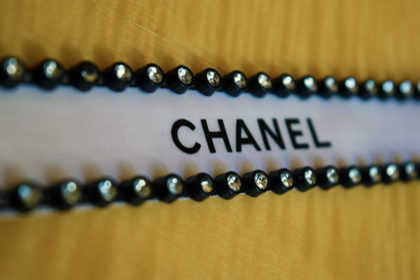
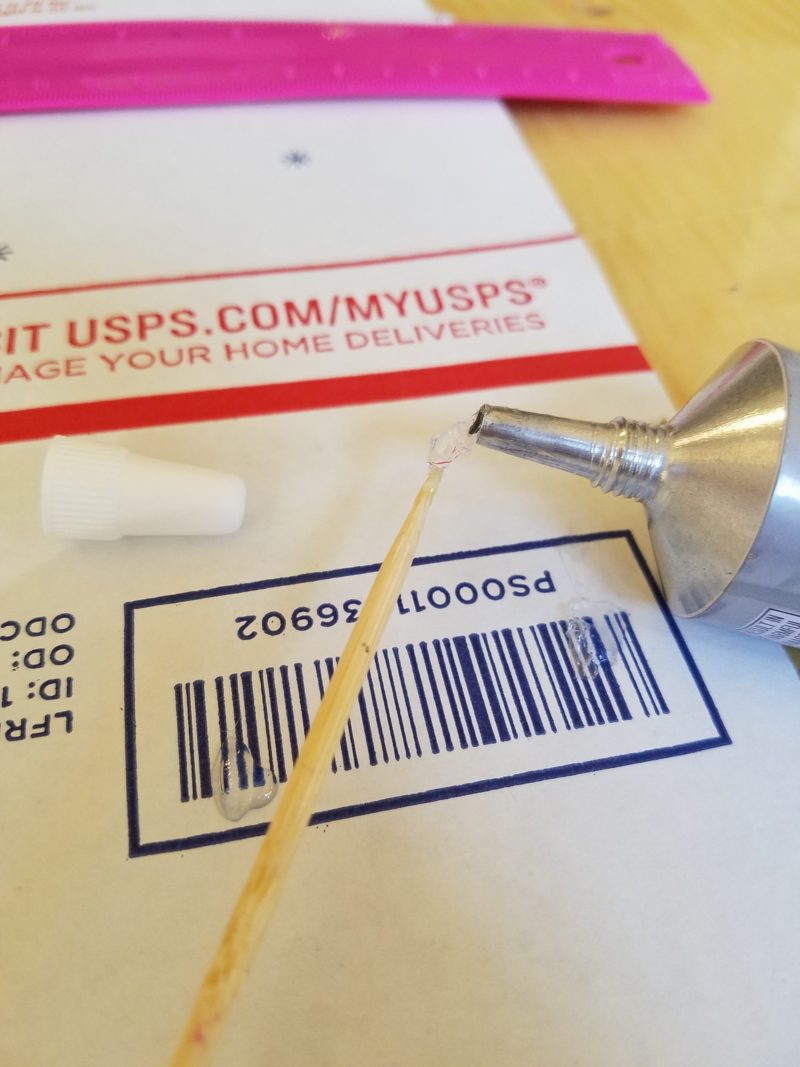
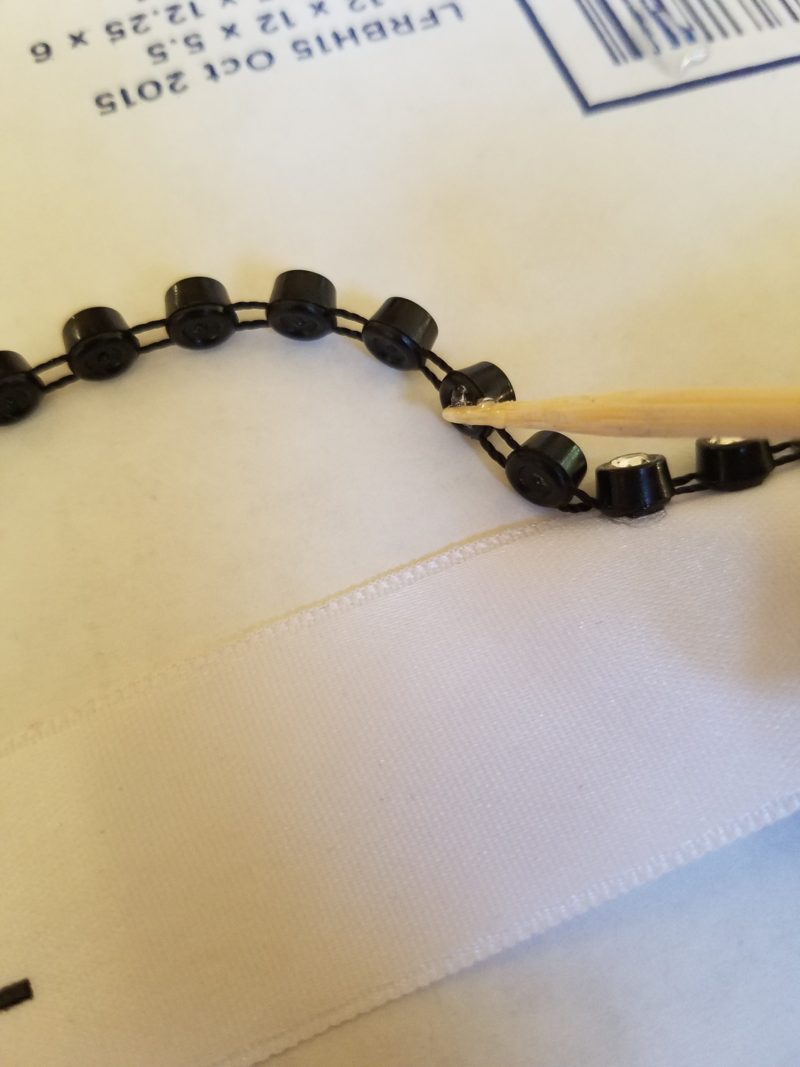
Measure out two sets of beaded trim or rhinestones of your choice to just where the ribbon begins to distort due to the knot. For me, this measured out to be about 3 cm from the knots on both sides and 21.5 cm total beaded trim in length. On top of a box or protective paper, and in a well ventilated area, open E6000 glue. I found that it spilled out freely and was a bit difficult to apply to the beads. Have a paper towel handy to wipe off excess glue. Using a toothpick, carefully scoop a tiny amount of glue and smear onto the bottom of one string bead. Carefully place this at the edge of the choker and repeat the process until all the beads are attached to one edge of the choker. Repeat process on other side. Let dry for 24 hours.
Enjoy your choker! If you have any further questions or have any other ideas for DIYs to do in the future (chokers included) let me know in the comments below.
P.S. I used this tutorial to figure out how to attach the clasps to the ribbon, check it out for a more visual guide to completing the choker!


